Vertical anamorphic is a unique and fascinating shooting method, that may grant you stunning results. However, have you considered turning your camera sideway to the anamorphic lens? Well, Berlin-based cinematographer Janis Brod has thought about that. Read his insights and watch his short film that was made on a camera (sensor) that was located vertically to the anamorphic lens.
Vertical anamorphic
Vertical anamorphic is accomplished when using the camera horizontally and turning the anamorphic lens sideways. After de-squeezed you will get vertical flares and horizontal oval-shaped bokeh, in a 3:2 aspect ratio. It grants special characteristics to the image, and especially to the object. However, you will also get side effects like vertical flares and horizontal bokeh. Hence, it changes the anamorphic characteristics of an image, which is good and bad, since not everyone likes vertical flares. However, Berlin-based filmmaker, Janis Brod has decided to do it in the opposite way. Instead of the lens, Janis has located the camera vertically. Let’s call it — ‘Shooting anamorphic with vertical sensor’.
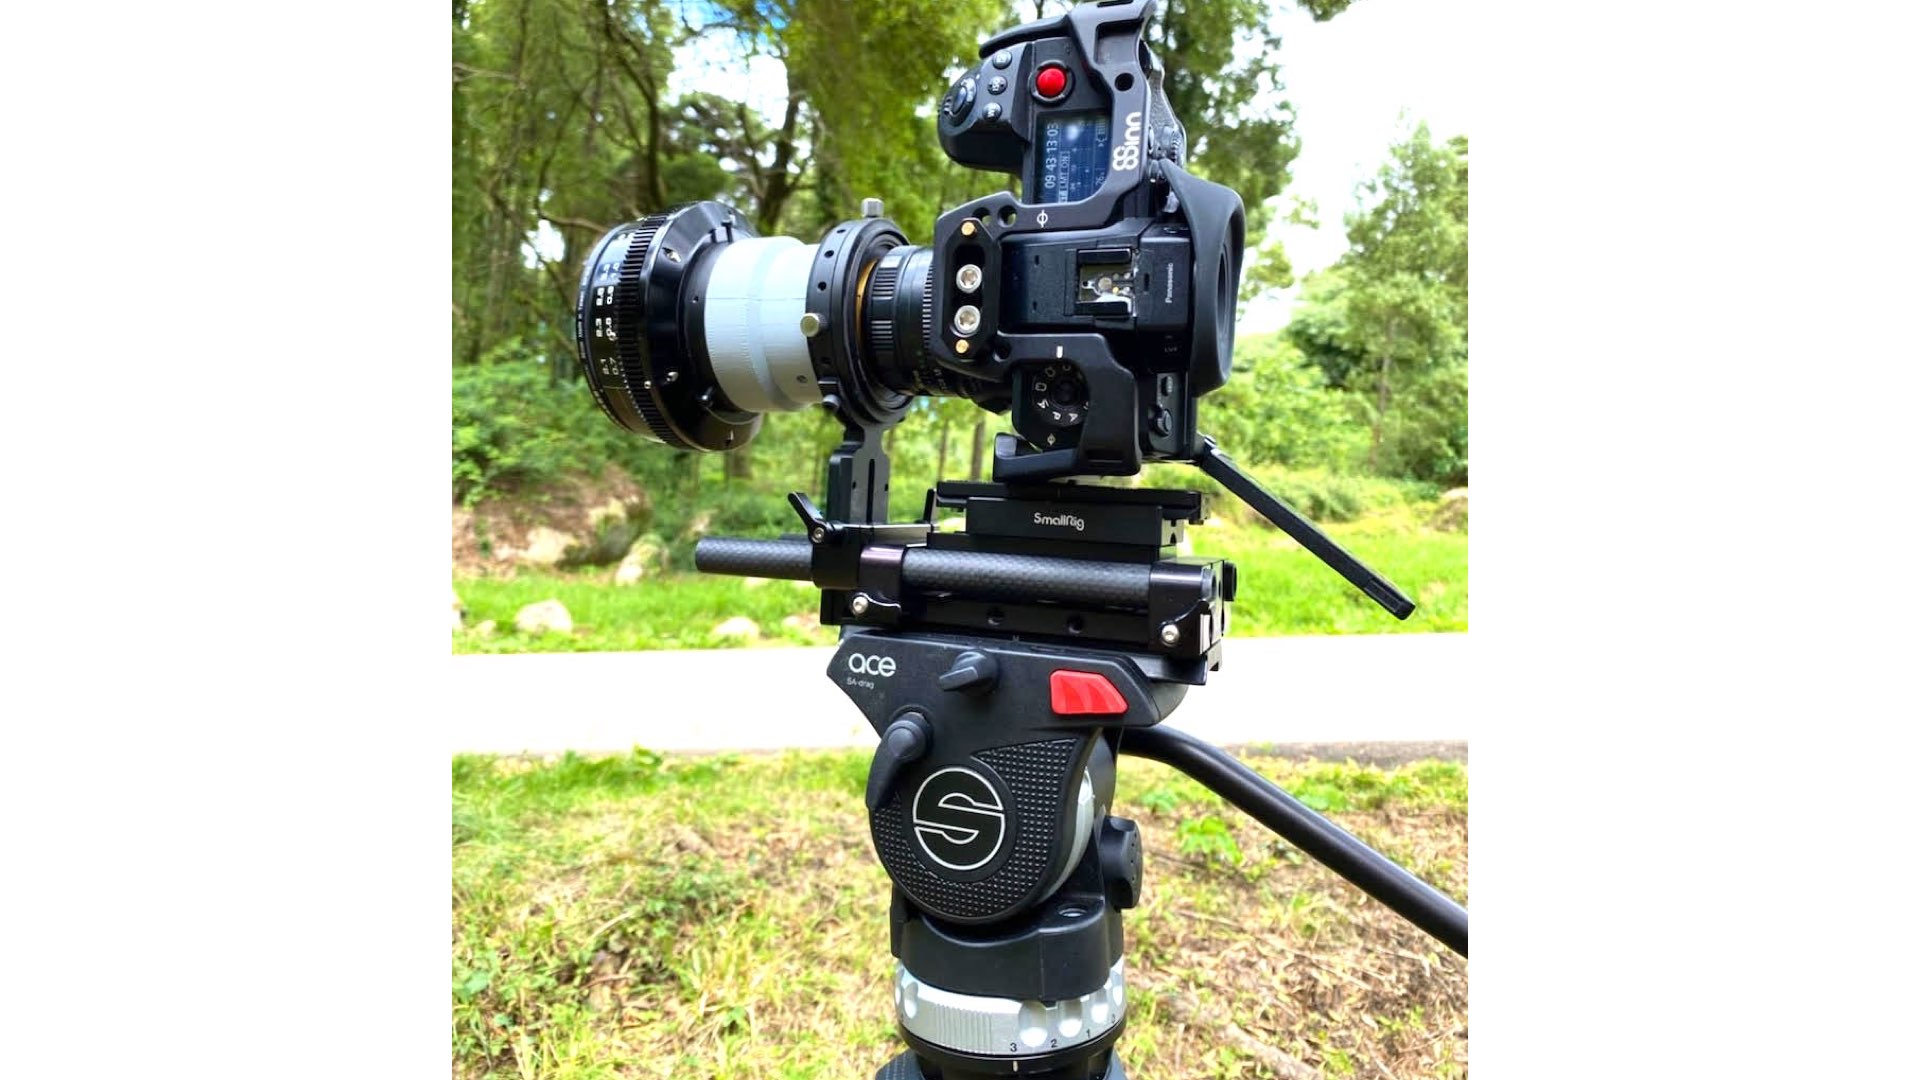
The idea is simple: shooting anamorphic with the classic anamorphic look but with a much narrower aspect ratio.
Cinematographer Janis Brod
Anamorphic lens paired with a vertical sensor
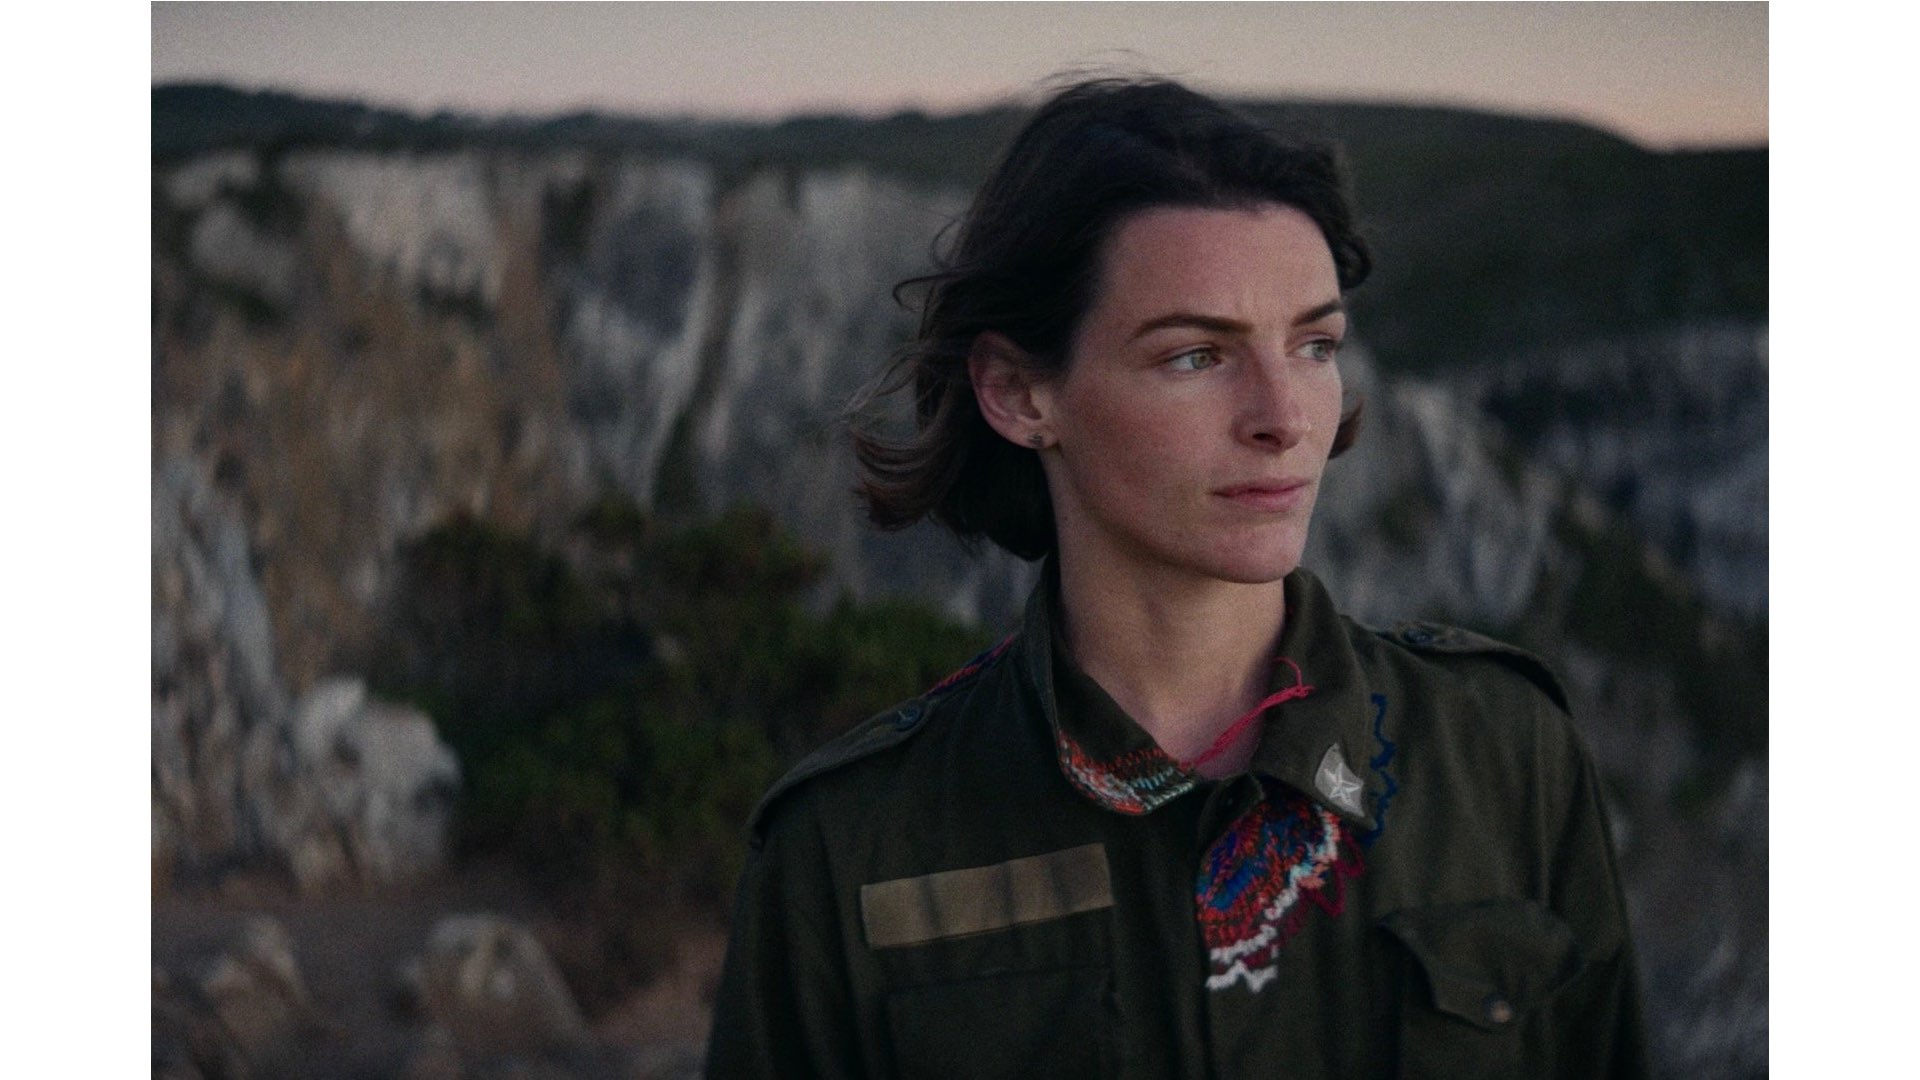
As stated by Janis when describing his work: “‘Catching Time’ is a short artist portrait that I shot with Tanya Fryerart at the Portuguese coast. Shot in anamorphic with the camera rigged vertically (vertical camera sensor with horizontal anamorphic lens) – It’s kind of a weird & cumbersome setup but I’m in love with the look. Shot on the S1H in vertical 4:3 (or rather 3:4) mode with a DIY anamorphic solution consisting of the Helios 50mm 1.8, Isco Ultra Star, and Rectilux HCDNA. Pretty cumbersome setup (and no way to properly de-squeeze it for monitoring) but I feel like the results were worth it. Indeed, the results are very unique and mesmerizing. Watch the video below:
Why?
The video caught our eyes, so we reached out to Janis to elaborate further on the process. This is what he wrote: “I had already experimented a while back with the process of shooting anamorphic on a vertical sensor and fell in love with the look, so I’ve been meaning to use it on an actual project for quite a while but I’m still lacking a proper monitoring solution for this unusual setup. This short portrait was a good option to try out in a real-world scenario beyond a simple test though because it was just a small personal project and if something would have gone wrong, it would have been a bummer but not a disaster”.
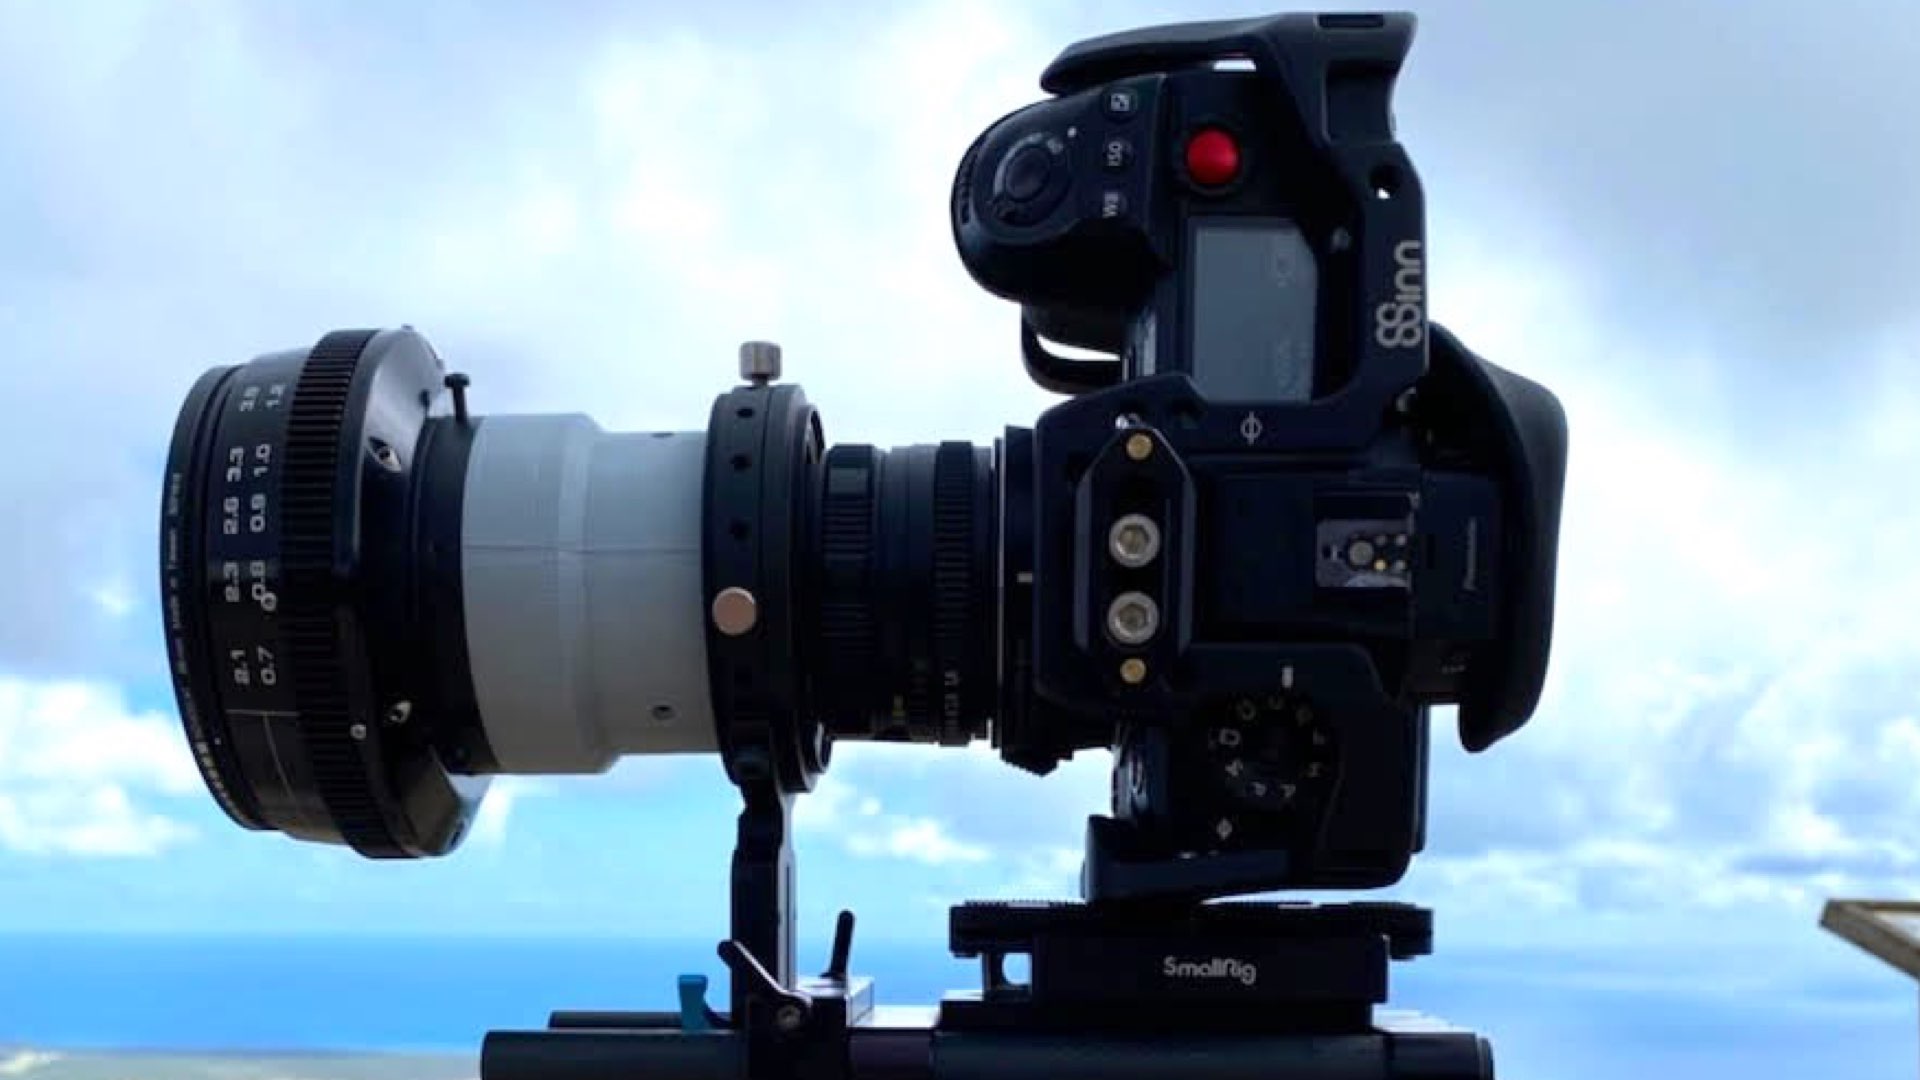
When using a 4:3 sensor vertically (so 3:4) with a 2x anamorphic lens, you’ll get a gorgeous 3:2 image in the end.
Cinematographer Janis Brod
The Idea
Janis: “The idea is simple: shooting anamorphic with the classic anamorphic look but with a much narrower aspect ratio. When using a 4:3 sensor vertically (so 3:4) with a 2x anamorphic lens, you’ll get a gorgeous 3:2 image in the end. This classic photographic aspect ratio combined with the anamorphic compression gives a very unique feel, a bit like medium format but with a twist. And unlike using the camera horizontally and turning the anamorphic lens sideways (which I’ve seen more people do), you won’t get vertical flares and horizontal oval-shaped bokeh when using this method. All the anamorphic characteristics are the same as what you’re used to”.
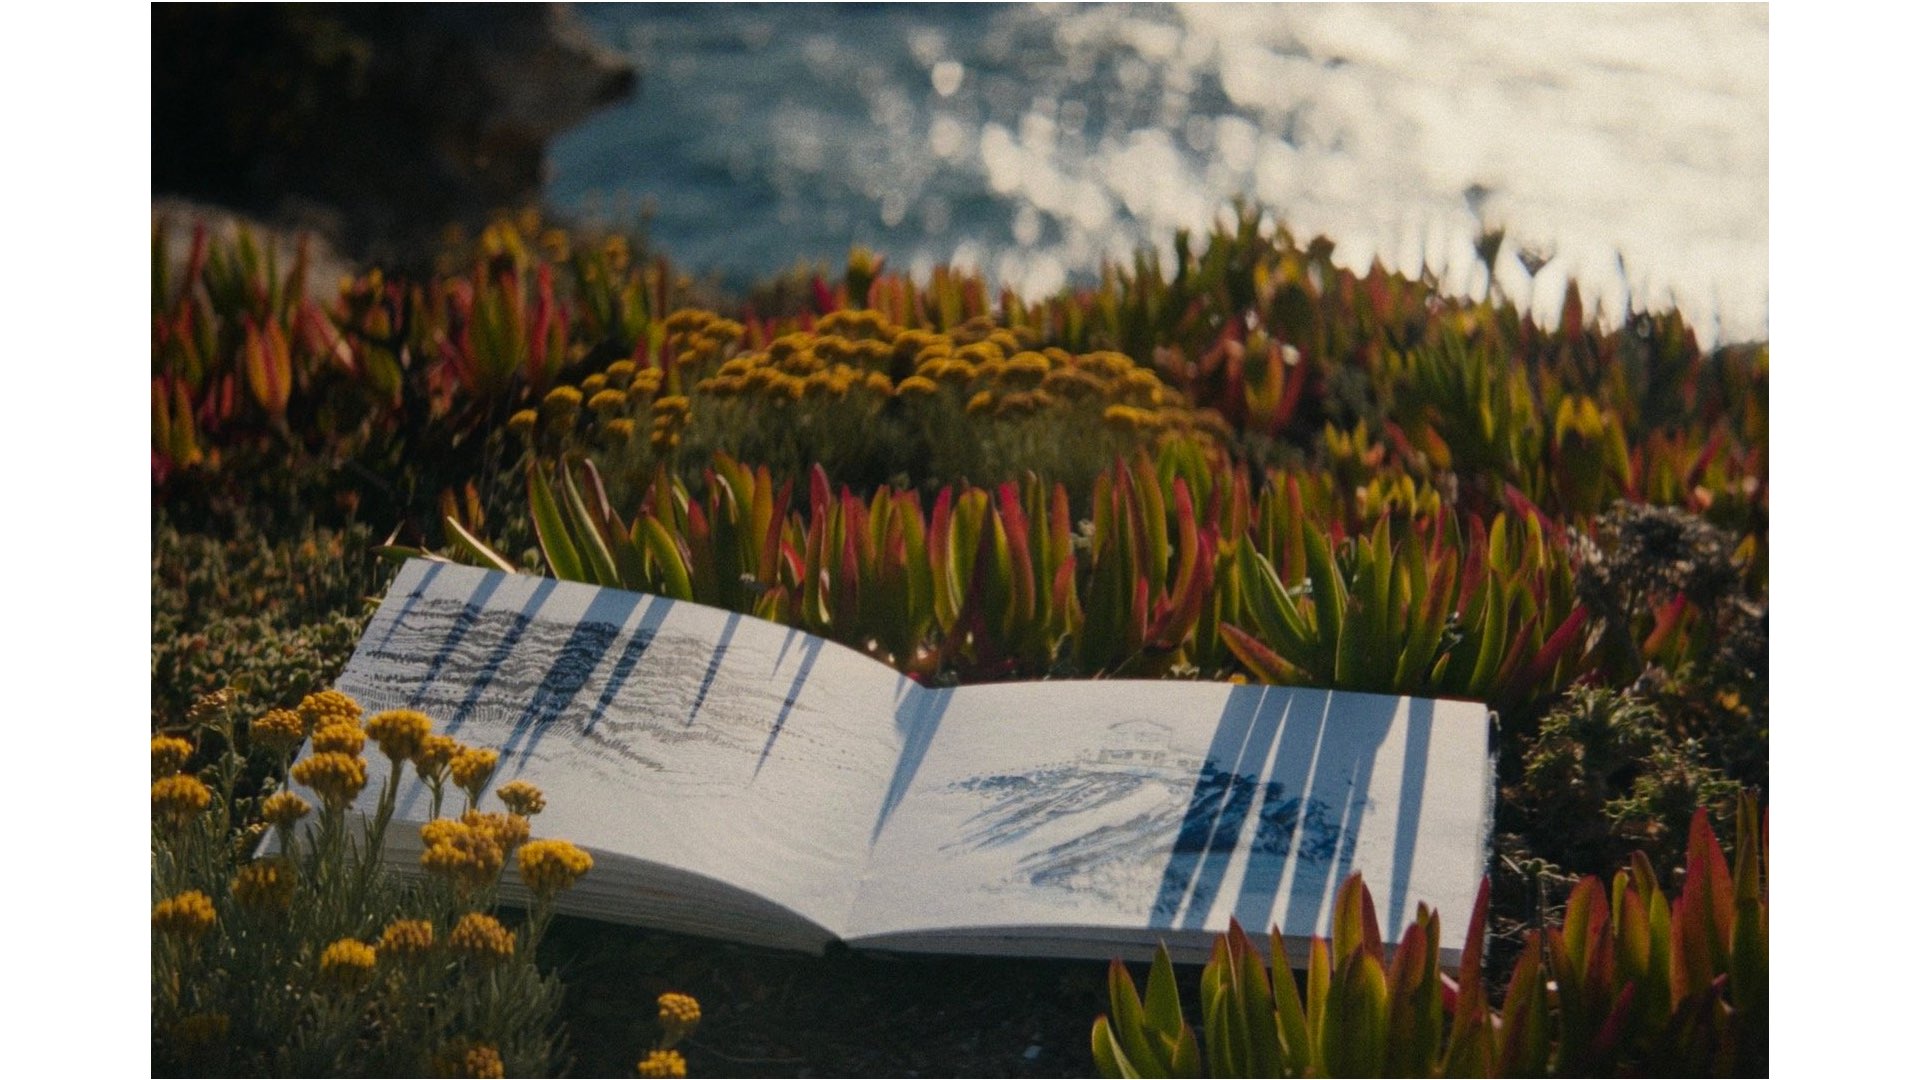
Unlike using the camera horizontally and turning the anamorphic lens sideways (which I’ve seen more people do), you won’t get vertical flares and horizontal oval-shaped bokeh when using this method.
Cinematographer Janis Brod
The challenges
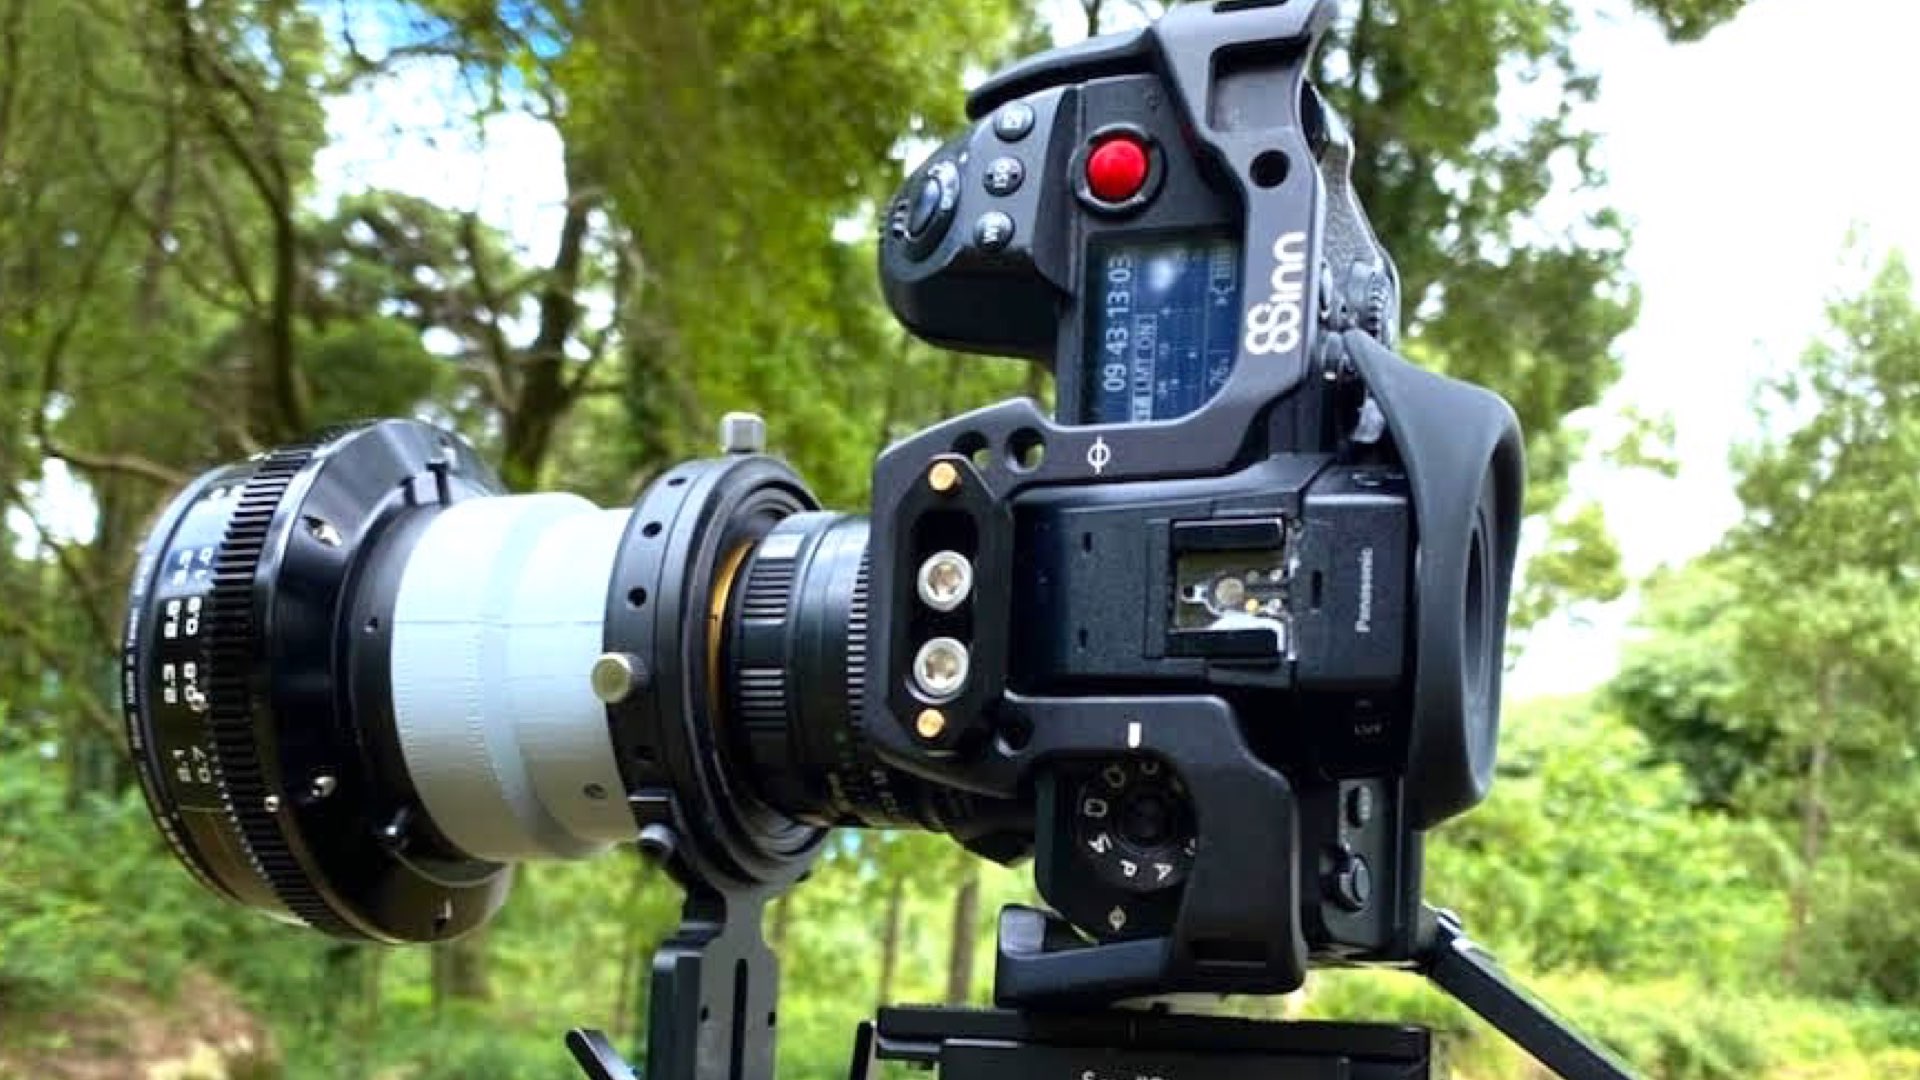
Janis: “So, lacking a monitor that can turn the image sideways before de-squeezing it, I went on doing it with just the internal display of the Panasonic S1H and a squeezed image. It was hard to judge the image sometimes but since I went for only locked-off tripod shots, it was manageable! I have an 8sinn cage for my S1H, which has the advantage that there’s a 3/4’’ screw hole at the side that’s exactly centered over the rods when attaching the baseplate to the side of the cage to use it vertically. The downside is that it’s only one screw, so I had to really tighten it – but it stayed stable for the whole day without me having to re-adjust it”.
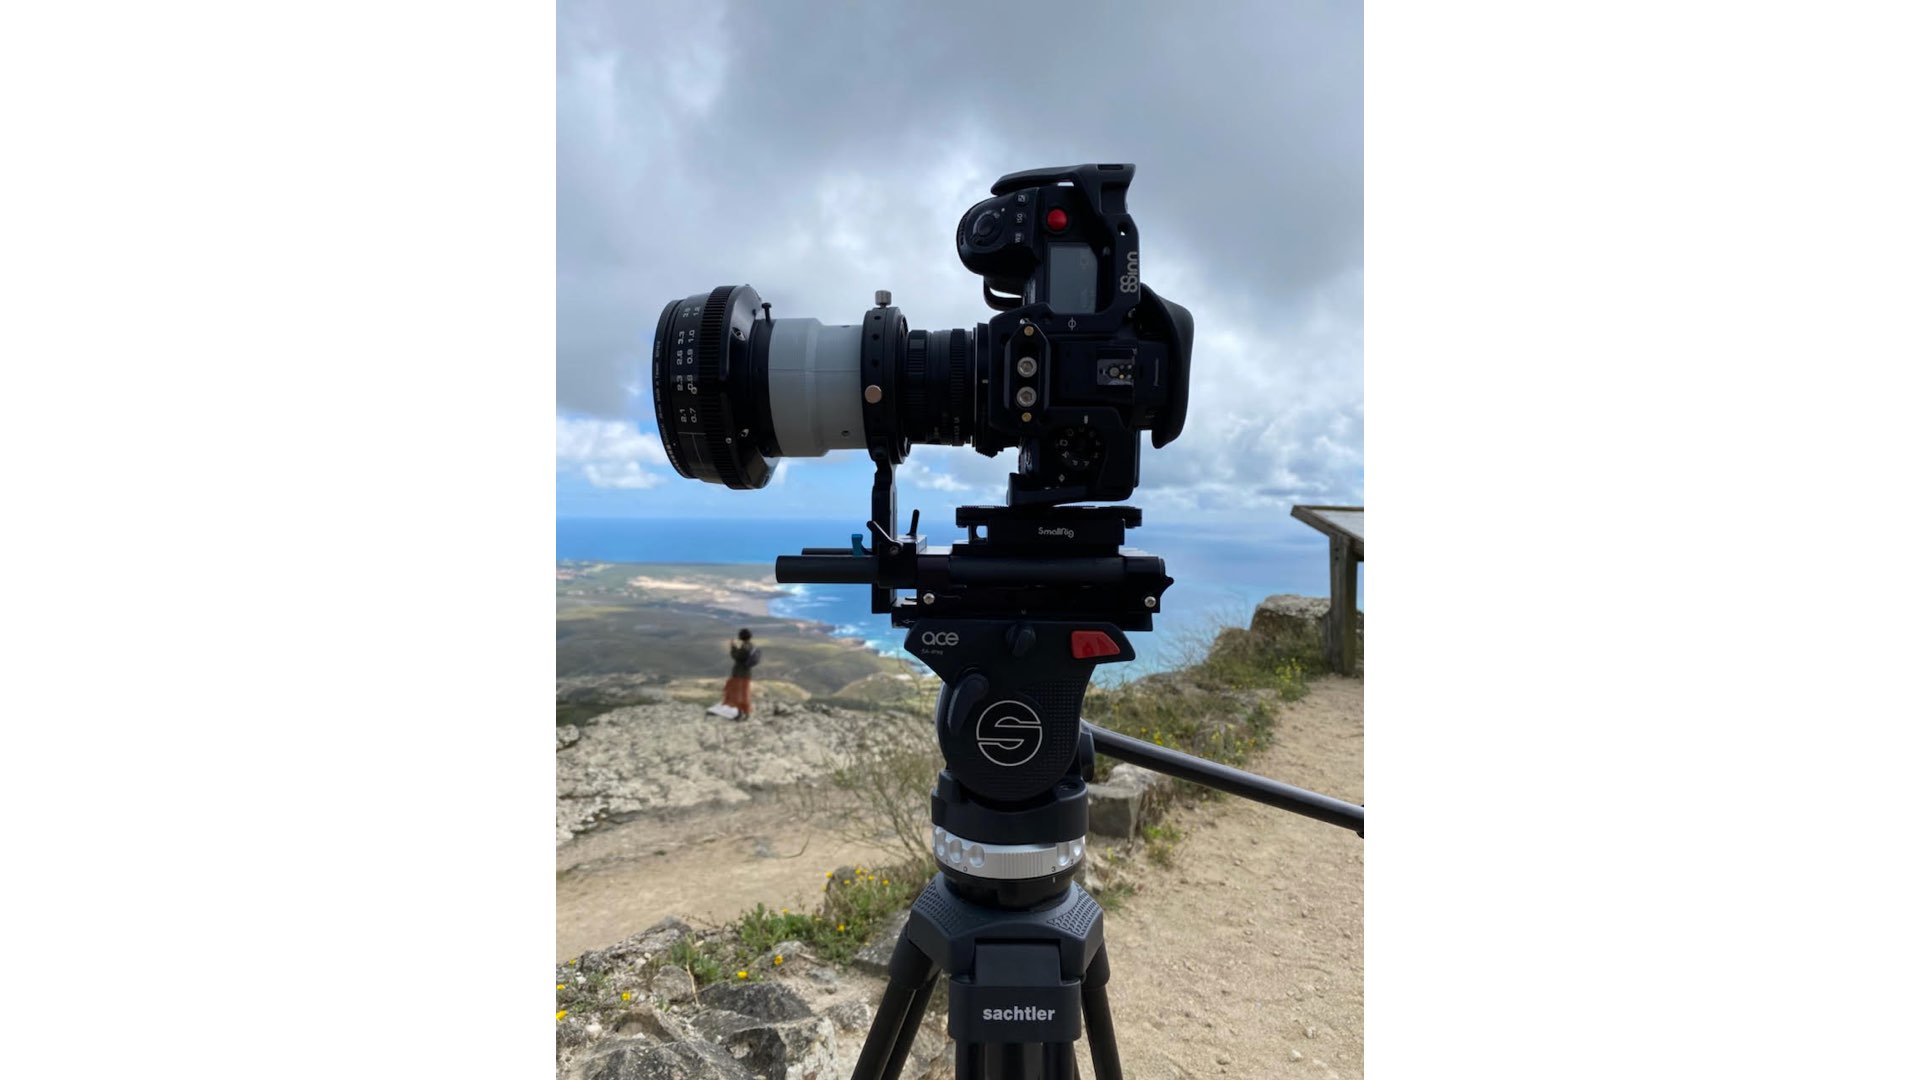
The setup
Janis: “The anamorphic solution that I used was the classic DIY projector lens Frankenstein rig: a Helios 77M 50mm 1.8 as the taking lens, the Isco Ultra Star gold projection scope with a Rapido V3 clamp, and the HCDNA single focus adapter. All in all, a pretty weird and cumbersome rig, and definitely some room for improvement… but I’m happy with the results. I’m looking forward to doing something like this with an actual PL-mounted anamorphic lens and proper monitoring sometimes, I might have a project coming up in fall where I’ll try doing it with an Alexa Mini and Kowa or Lomo anamorphic. There is a device called AJA ROI (the SDI version) which AFAIK is the only good solution for monitoring this right now”.
Initial thoughts
Indeed, the imagery is very special and artistic. However, the step has its own challenges, especially when you intend to shoot dynamically and with a lot of camera movements (handheld or stabilized). We do hope that manufacturers will develop a dedicated rig for vertical anamorphic, with a solution of turning the image so it will be much more manageable during the shooting process. Finally, we’d like to thank Janis for sharing these filmmaking ideas with us. Follow Janis on Instagram and YouTube. Also, explore his website here.
Have you tried shooting vertical anamorphic? If so, feel free to share with us your projects.
Product List
Here’re the products mentioned in the article, and the links to purchase them from authorized dealers.
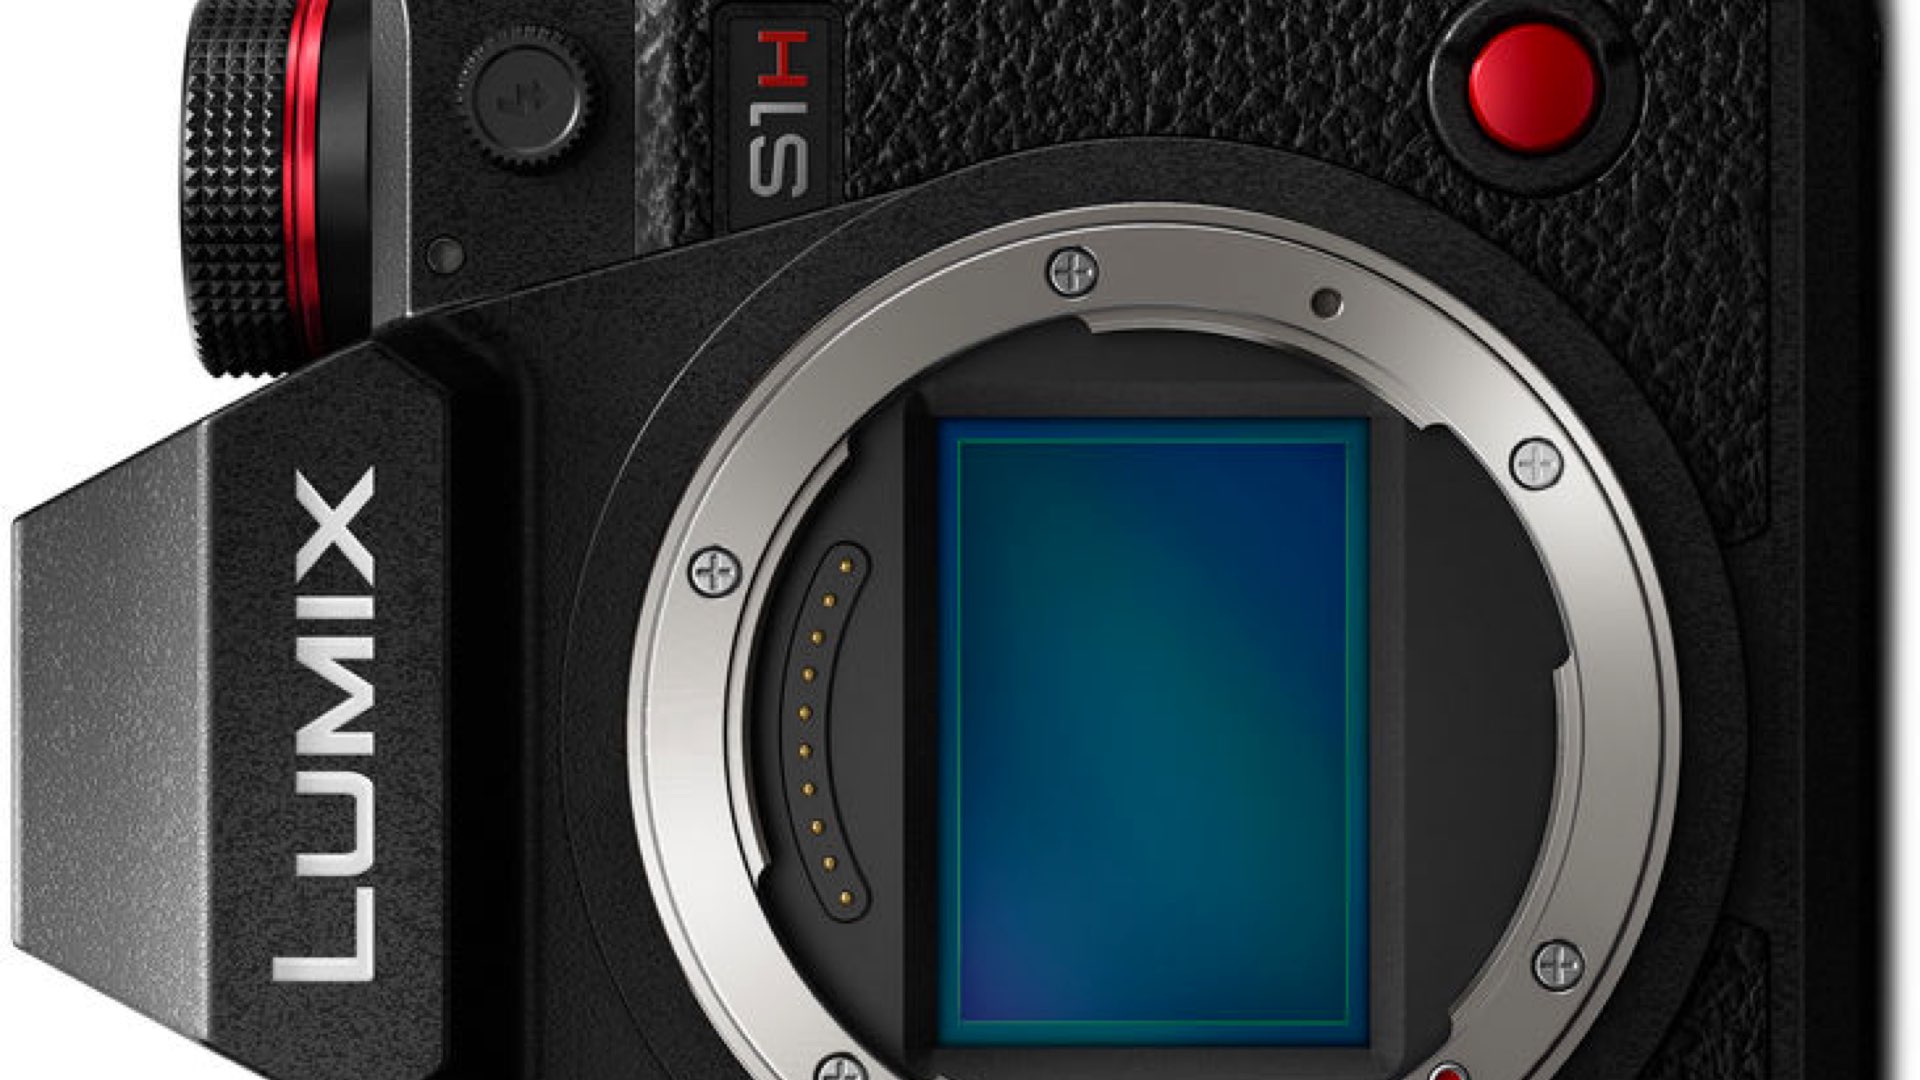
- Panasonic Lumix S1H Mirrorless Camera
- BUY the Y.M.CINEMA 65 – A Gift for Filmmakers









Beautiful picture,