In this great educational tutorial, you will learn how to build and assemble your camera rig for professional videography. Moreover, you’ll understand the logic and role of every screw. Although it may look like overkill, a well-built rig can facilitate your work, grants you many advantages, and as a bonus, can make you look much more professional (and cool). Let’s talk a bit about the art of camera rigging.
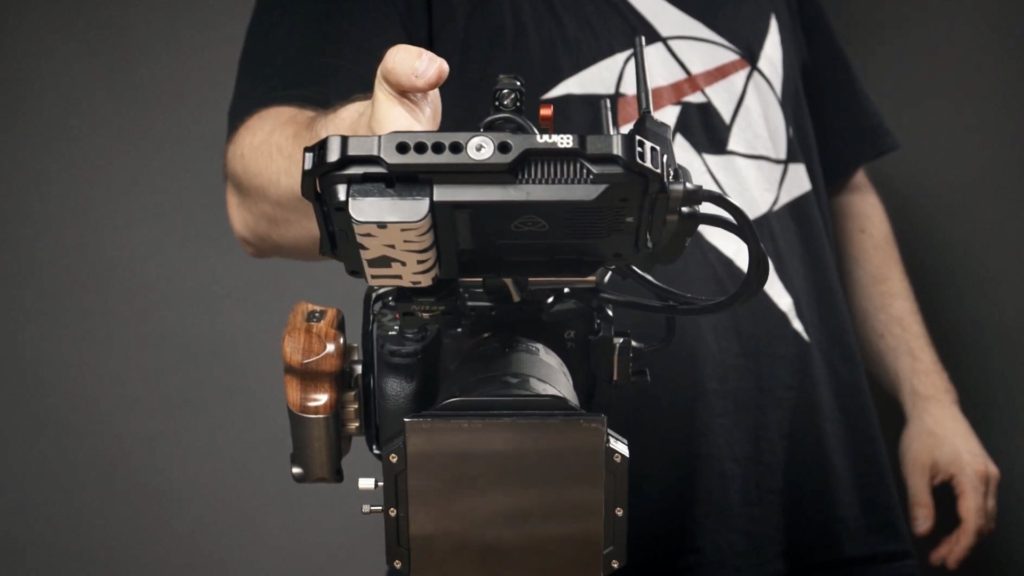
Well rigged camera: A practical (and aesthetically) advantage
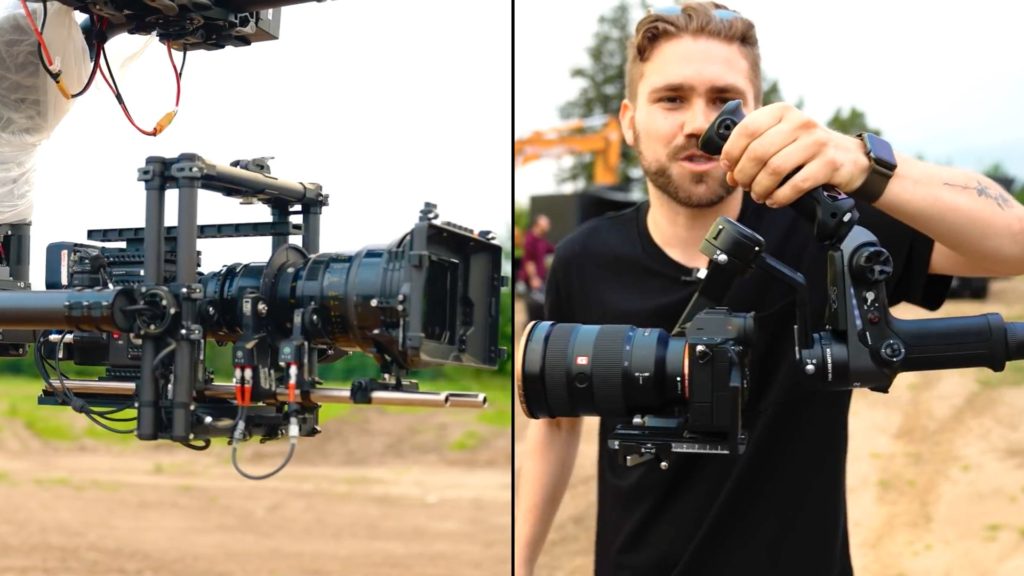
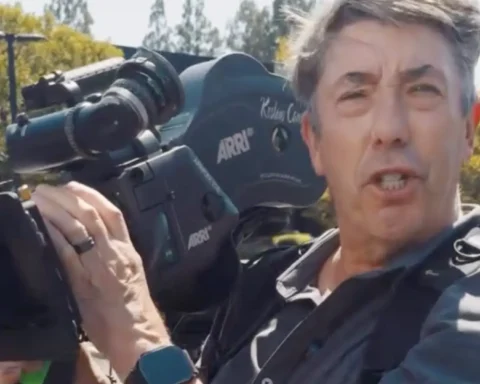
When shooting videos professionally, the camera and lens may not be sufficient. Most of the time, you’ll have to add more devices like handles, video transmitters, monitors/recorders, filters, and so on. Of course, every tool has its own role. Nevertheless, it’ll make your camera look more competent and cool, which is not less important in our profession. Moreover, the added value of a well-built camera is its weight. Since you add more devices and the rig is further assembled, then the total weight of the apparatus is elevated, which constitutes a huge advantage in Run N’ Gun shooting situation. A heavy rig can contribute to camera steadiness when shooting handheld. That’s an essential factor since we’re dealing mainly with mirrorless cameras that are light and small.
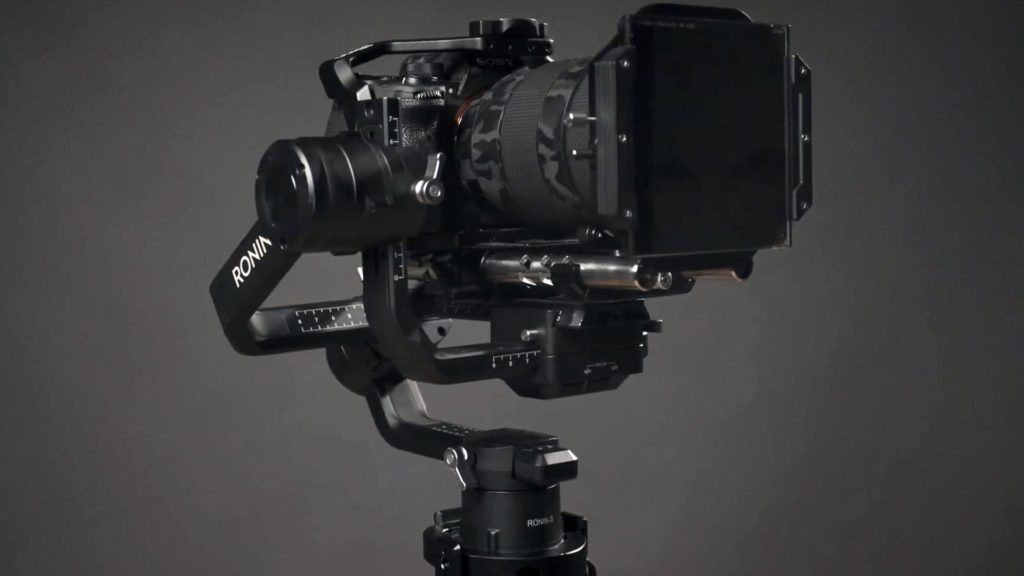
Mobility and adaptability
Before start planning your rig, you should answer those questions: Would you want your rig to be able to be attached to a slider or a stabilized gimbal? Should your rig be compatible to follow focusing operation? Do you need a video transmitter? What kind of lens will you use? Will it need to be supported? All those factors need to be taken into account in order to build the best rig for the job, that will serve you well in your filmmaking mission.
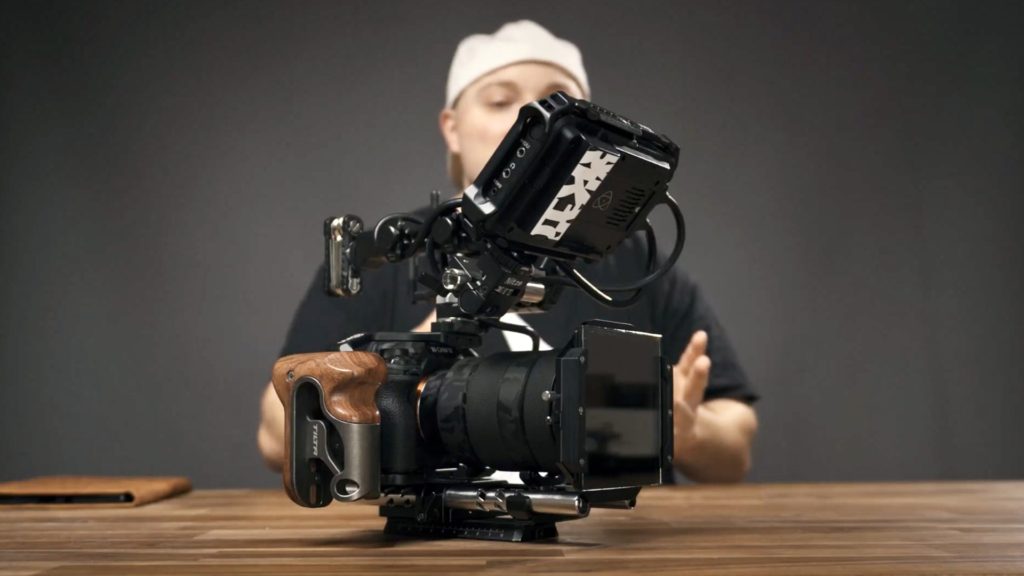
Start from the cage
The cage is the best place to start with. Specific cages are built for specific camera models. The cage wraps the camera, extending physical connection so other devices can be attached, like baseplates, cable clamps, rails, handle, lens support, recorder, and more. The side and top handle should be attached by specific mounts, with specific screws. Furthermore, design your rig with a decent cable management approach, so the cables will not interfere with shooting.
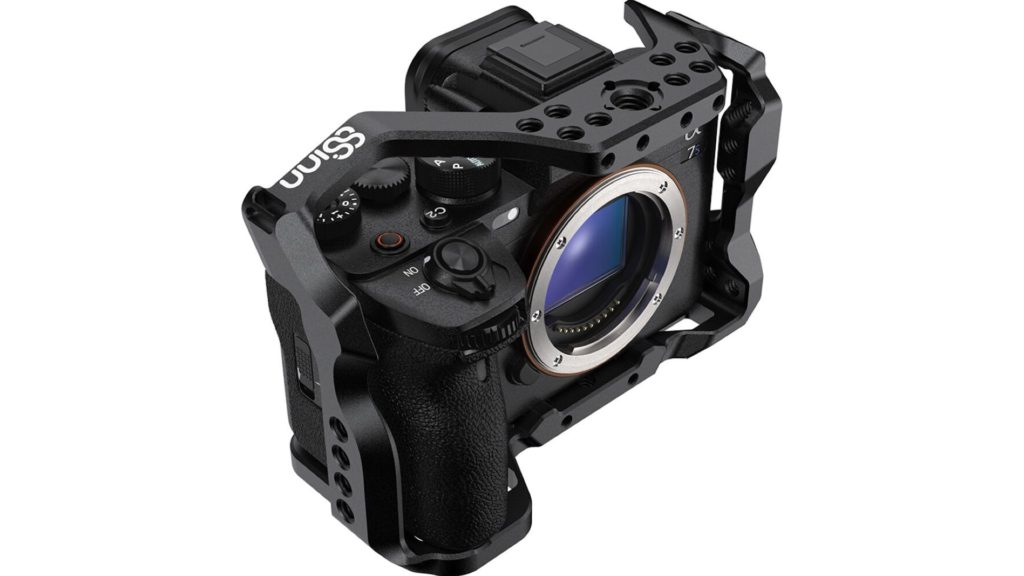
Add more devices
After carefully planning the cage apparatus, and verify that all handles, rods, and mounts are well attached, then more devices can join the party. A list of essential devices can include monitor/recorder, video transmitter, follow focus devices, microphones and etc. But remember that you have to take into a calculation that those devices also need more cables and power sources since they all feed each other. At that point, your rig will start to look impressive, but a bit complicated. However, even at that point, a well-built rig should look slick and attractive, with all cables concentrated nicely and firmly.
Usability
The rig should be secured, without moving parts, solid, and easily adapted to various shooting styles (slider, stabilized gimbal, drone, ENG, and handheld). If you managed to achieve all that, then your rig was well assembled and is ready for shooting. To explore ‘live rigging’ in action, watch the video below, created by Mark Singer, that demonstrates all those key points on rigging his Sony A7S III, in a very educating and enlightening way.
What do you think about the ‘Art of camera rigging’? Would you prefer precise rigging like in the video above, or a ‘dirty’ improvisation that allows you just to get your shot? Comment below.
Product List
Here’re the products mentioned in the article, and the links to purchase them from authorized dealers.
- Sony Alpha a7S III Mirrorless Digital Camera (Body Only)







As someone absolutely OBSESSED with perfecting his camera rig, this article was right on time LOL
I feel like camera rigging is something one can never ACTUALLY get perfect. We can only approach that coveted perfection by smaller and smaller degrees of separation.
It’s addictive TBH. I literally dream about how best to rig everything up the night before any gig that I might have!
Glad it helped 🙂
Glad you posted it!
I’m a little late to it, but better late than never lol
Wheres the kit list buddy? I can only see a link for the Sony..