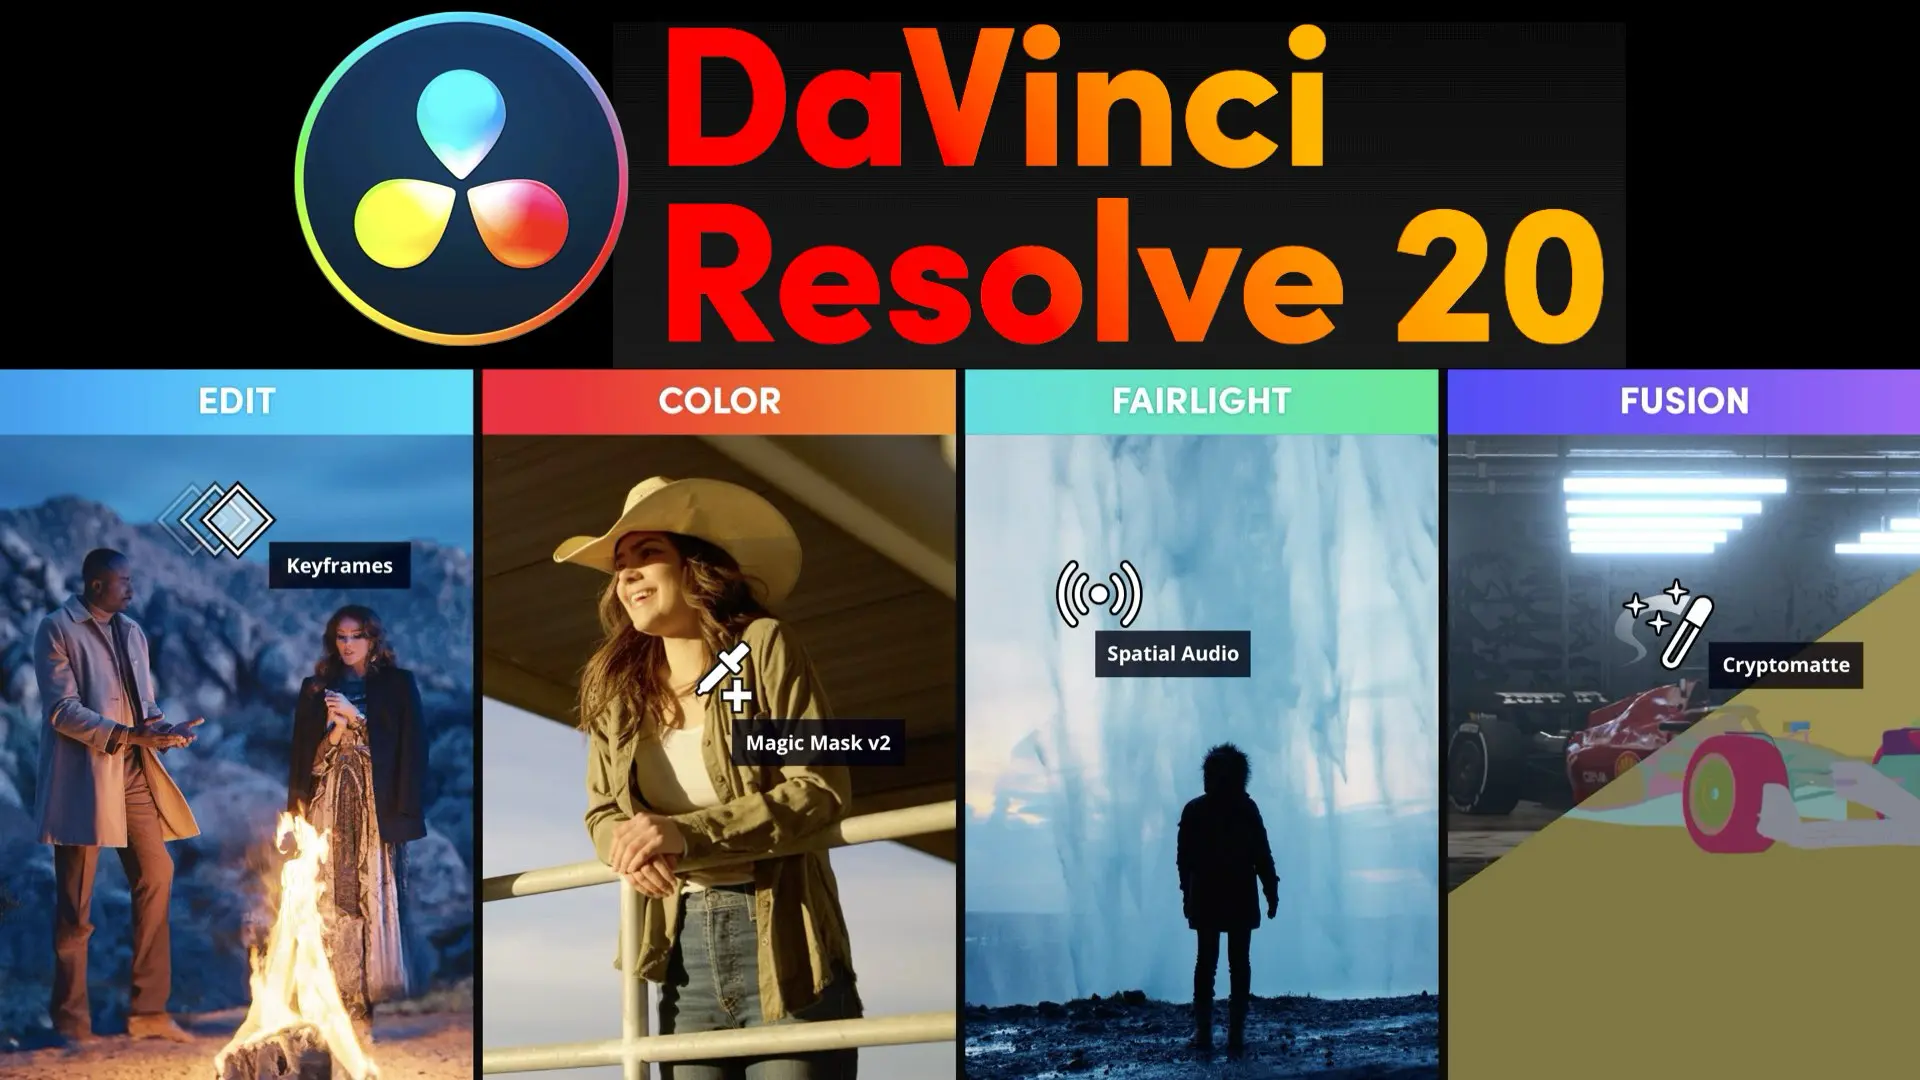
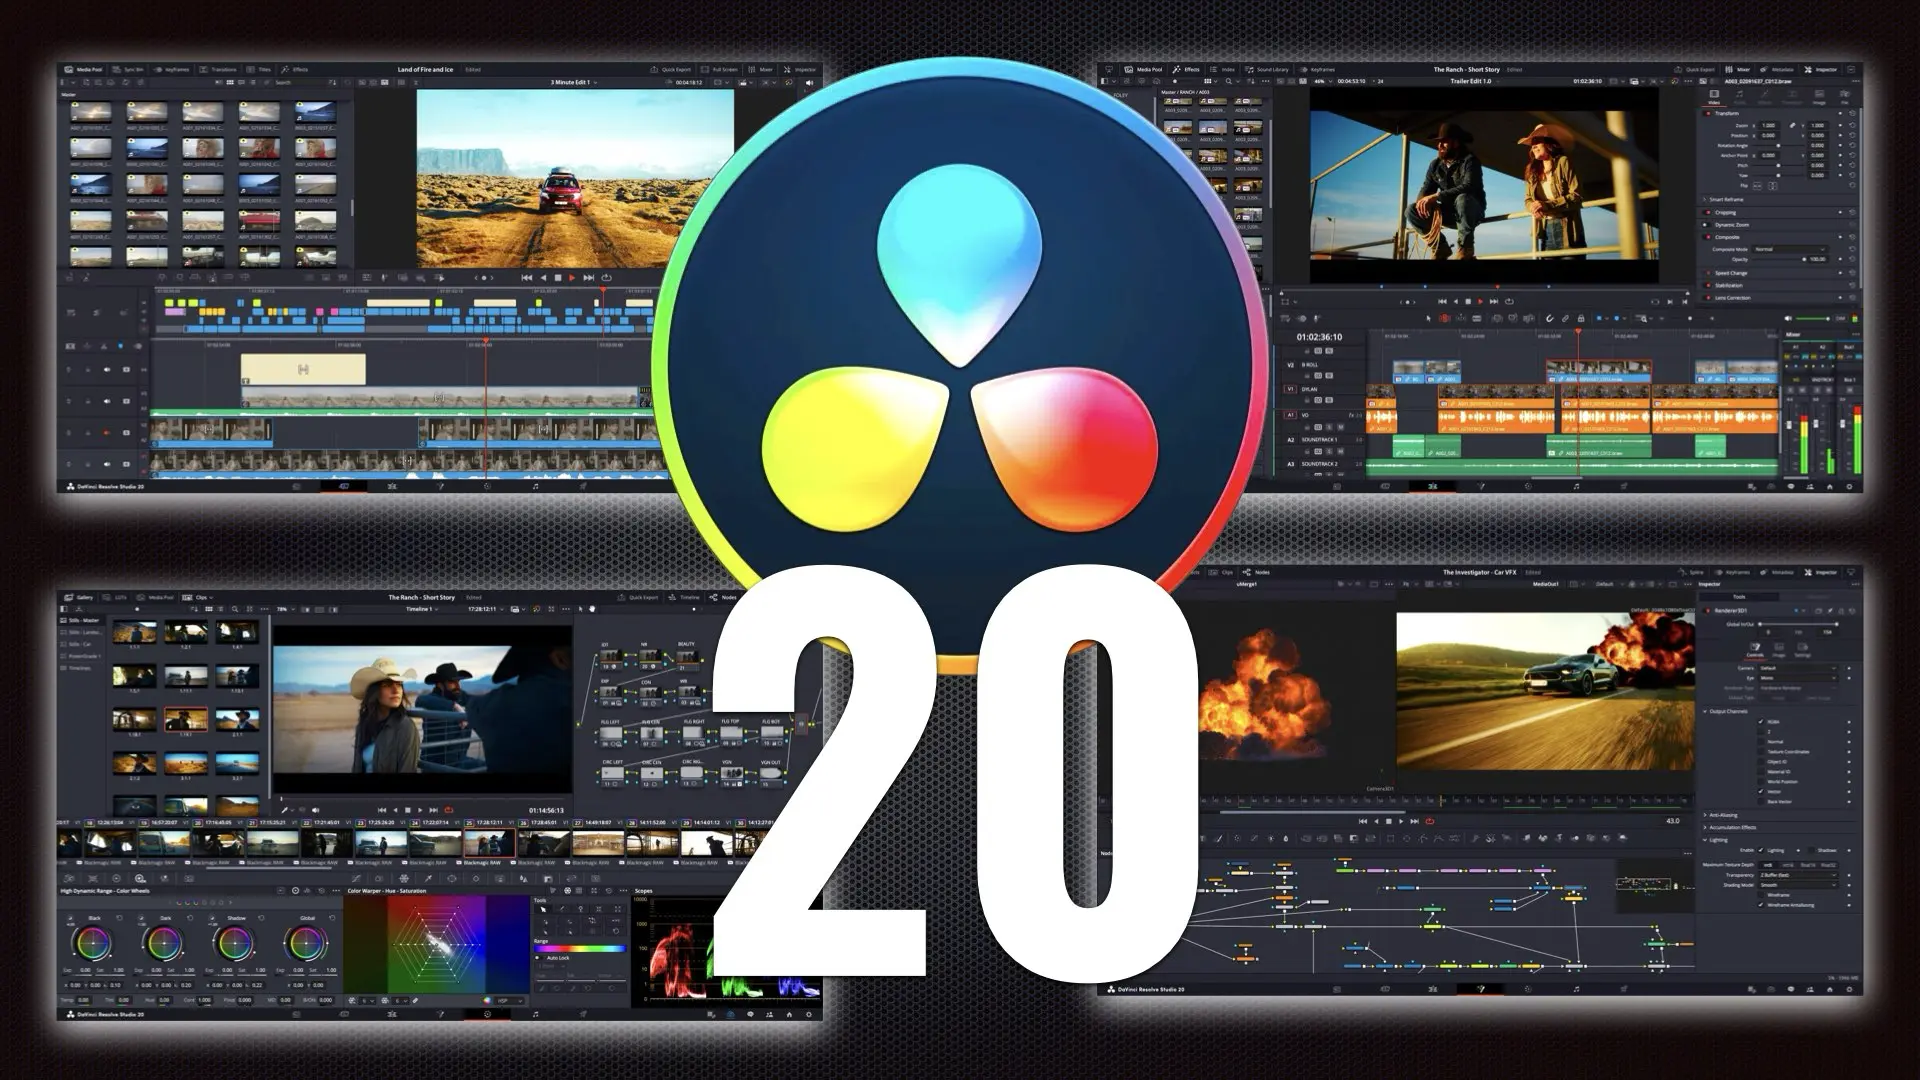
When DaVinci Resolve specialist Casey Faris tested ver. 20, he didn’t just rattle off a list of new features. He painted a picture of what it means to build motion graphics inside an editing app—a world where typography, keyframes, and animation workflows should feel as natural as cutting a scene. With DaVinci Resolve 20, that’s finally starting to happen. The headline? You no longer need to dive into Fusion for every animated title or layout. A new set of tools now lives natively on the Edit page—tools that motion designers and editors have been quietly asking for over years of workaround-heavy workflows.
The Text Generator, Rebuilt
“Titles are deceptively simple,” Faris explained. “But if you’re doing real layout work—like lower thirds or main titles—they start getting messy.” The traditional Text+ tool in Resolve had power, but not elegance. Multi-line titles often meant stacking layers, manually managing line breaks, and struggling to maintain design consistency. Resolve 20 introduces a new text generator that changes this. The tool allows line-by-line control: individual styling, animation, position, and more—within a single instance. Think of it as multi-column layout behavior inside a single timeline clip. You can now animate one line independently of another without separate text layers, and if you update the copy, the animation stays intact. That alone removes a dozen headaches. There’s also support for bounding boxes and automatic text wrapping. Instead of inserting hard returns, you define a region and the text behaves responsively within it—like it would in After Effects or Photoshop. “It’s about making things smarter,” Faris said. “The design adapts to the content, not the other way around.”
Editing Keyframes Without the Guesswork
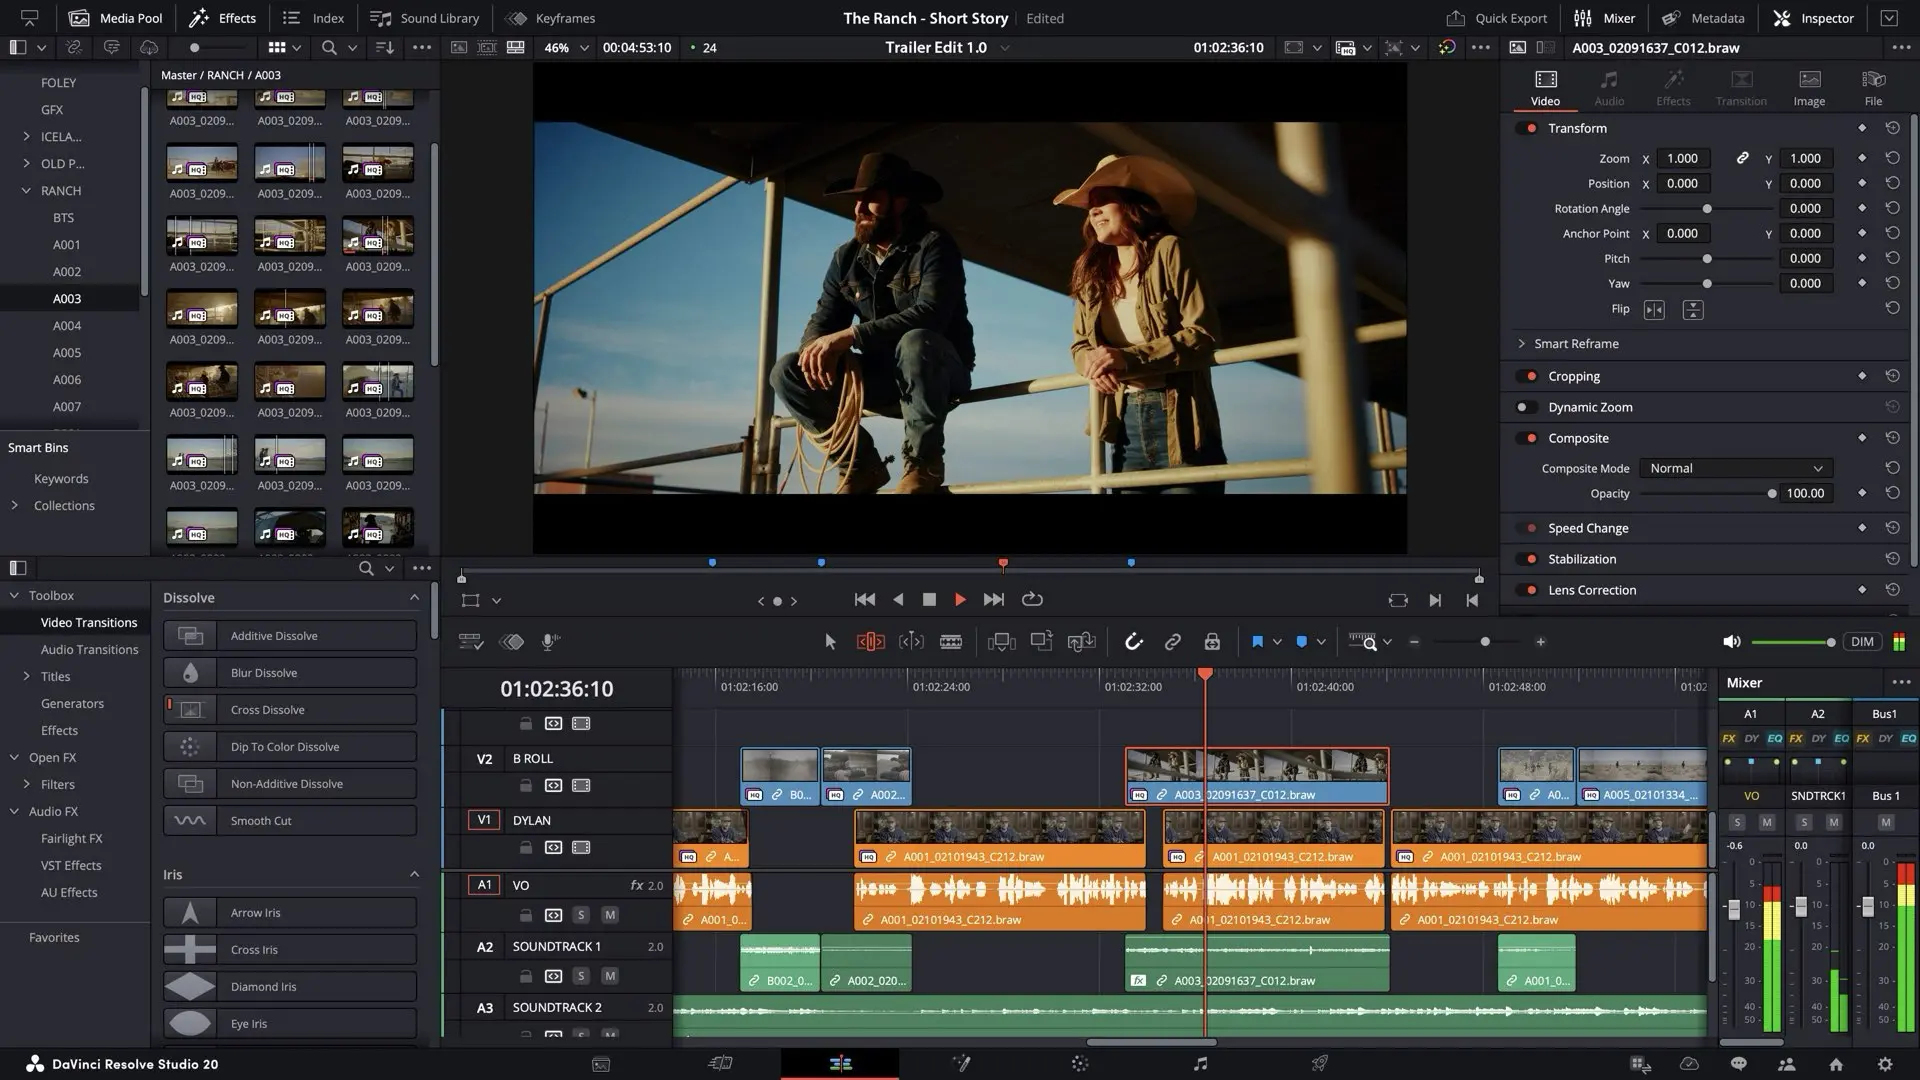
Another pain point Resolve 20 addresses is timeline animation. Keyframing inside the Edit page has always been limited—basic transform controls and a cramped view buried in clip layers. Now, Resolve 20 opens up a new dedicated keyframe editor. It’s dockable, scalable, and clear. You see every keyframe in a clip without opening layers. More importantly, you can adjust motion curves right there, directly on the timeline. “You shouldn’t need Fusion just to make a title ease in gently,” Faris noted. “It’s now just a few clicks.” This means more natural movement and timing for text, graphics, and still images, all without node graphs or workarounds. A small change, maybe—but one that transforms daily workflow.
Photoshop Files, Unlocked
The team also tackled a common request: better PSD support. Up until now, bringing a layered Photoshop file into Resolve meant either flattening it or jumping into Fusion and wrestling with nodes to extract and animate layers. That changes with Resolve 20. Right-click on a PSD in the timeline, and you can now split it into layers automatically. Each one becomes a separate clip, stacked on the timeline—fully editable and animatable. It’s not just about convenience; it’s about making Resolve behave like a motion design app, where layered assets can be composited and animated natively. Faris described it as a bridge: “Designers work in Photoshop. Editors work in Resolve. This makes it easier for them to speak the same language.”
Shapes, Built-In
It’s not flashy, but one of the most practical additions in Resolve 20 is the ability to add basic shapes—rectangles, circles, bars—directly onto the timeline. No Fusion, no templates. They live as generators, ready to keyframe. With fill and stroke controls, shapes become essential design elements: background panels, dividers, callouts, or even animated masks. “These are the building blocks of motion graphics,” Faris said. “We wanted to put them where they belong—on the timeline.”
Under-the-Hood Updates for Fusion Users
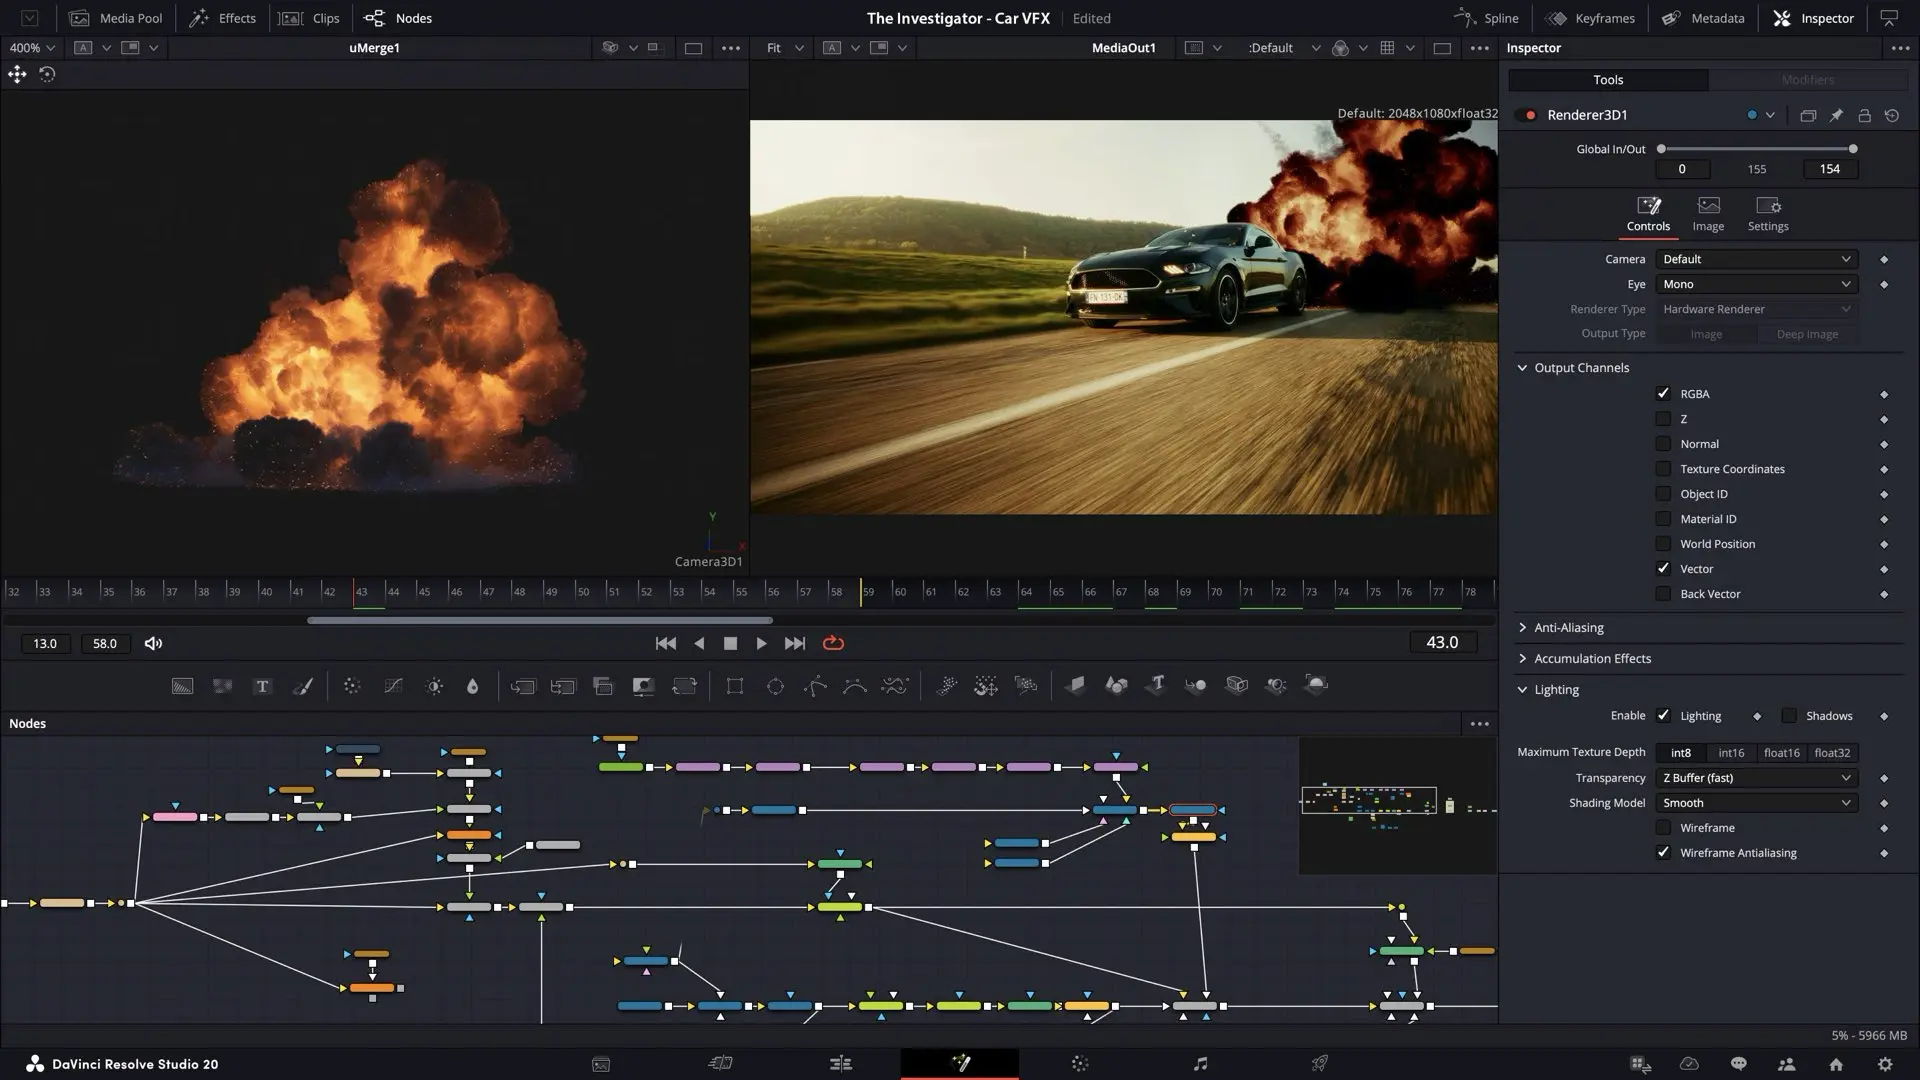
While most of the improvements were aimed at the Edit page, Fusion got a few key updates too. One standout is the improved EXR loader. Artists working with multi-layered OpenEXR files can now select which pass to use—directly from a dropdown—rather than manually breaking out channels or importing duplicates. It streamlines workflows for VFX and 3D compositing, especially when working with renders from Blender, Maya, or Houdini. Check out Faris’s Resolve 20 tutorial below:
Not Flashy—But Meaningful
Faris didn’t promise fireworks, and Resolve 20 doesn’t feel like a reinvention. Instead, it’s a quiet revolution—one that understands what motion designers and editors actually do, and how they move between text, assets, keyframes, and comps. “Not every update has to be a giant leap,” he said at the end. “Sometimes it’s about making the work feel better. Smoother. Smarter.” That’s what DaVinci Resolve 20 brings to motion graphics: fewer detours, more flow.

