
These days, shooting high speed is a no-brainer. However, shooting ultra-high-speed (1,000 and beyond) is a bit more complicated, but just a bit. Luckily, we’ve found an article published by Vision Research that sheds light on how to shoot it right. Read on.
The simple methods of high-speed imaging
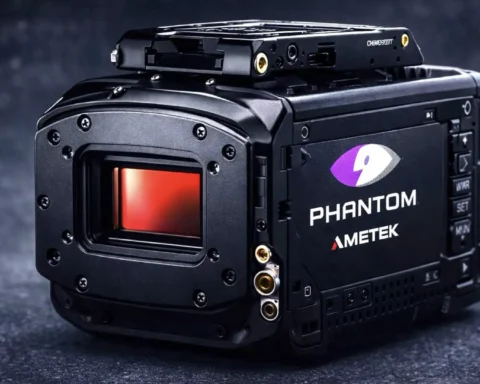
High-speed imaging can be improved when basic lighting techniques are utilized. Matt Mikka, which is a filmmaker who specializes in shooting ultra-high speed with Phantom cameras, offers advice on to easily improve the image quality of high-speed video in a variety of environments, including those found in range and scientific situations, and even Hollywood productions. Matt’s insights were published by Vision Research on a document that constitutes a simple yet efficient educational source for those who are eager to shoot on a very high FPS. Generally speaking, implementing Matt strategies for lighting, shutter speed adjustments and lens selection can drastically improve the quality of your own high-speed images. This leads to sleeker, brighter, and more detailed videos in various science, engineering, industrial, and even, cinematic applications.
As a general rule of thumb, doubling the camera’s frame rate requires twice the amount of light to successfully image a fast-moving subject.
Matt Mikka
Lighting: The most important factor
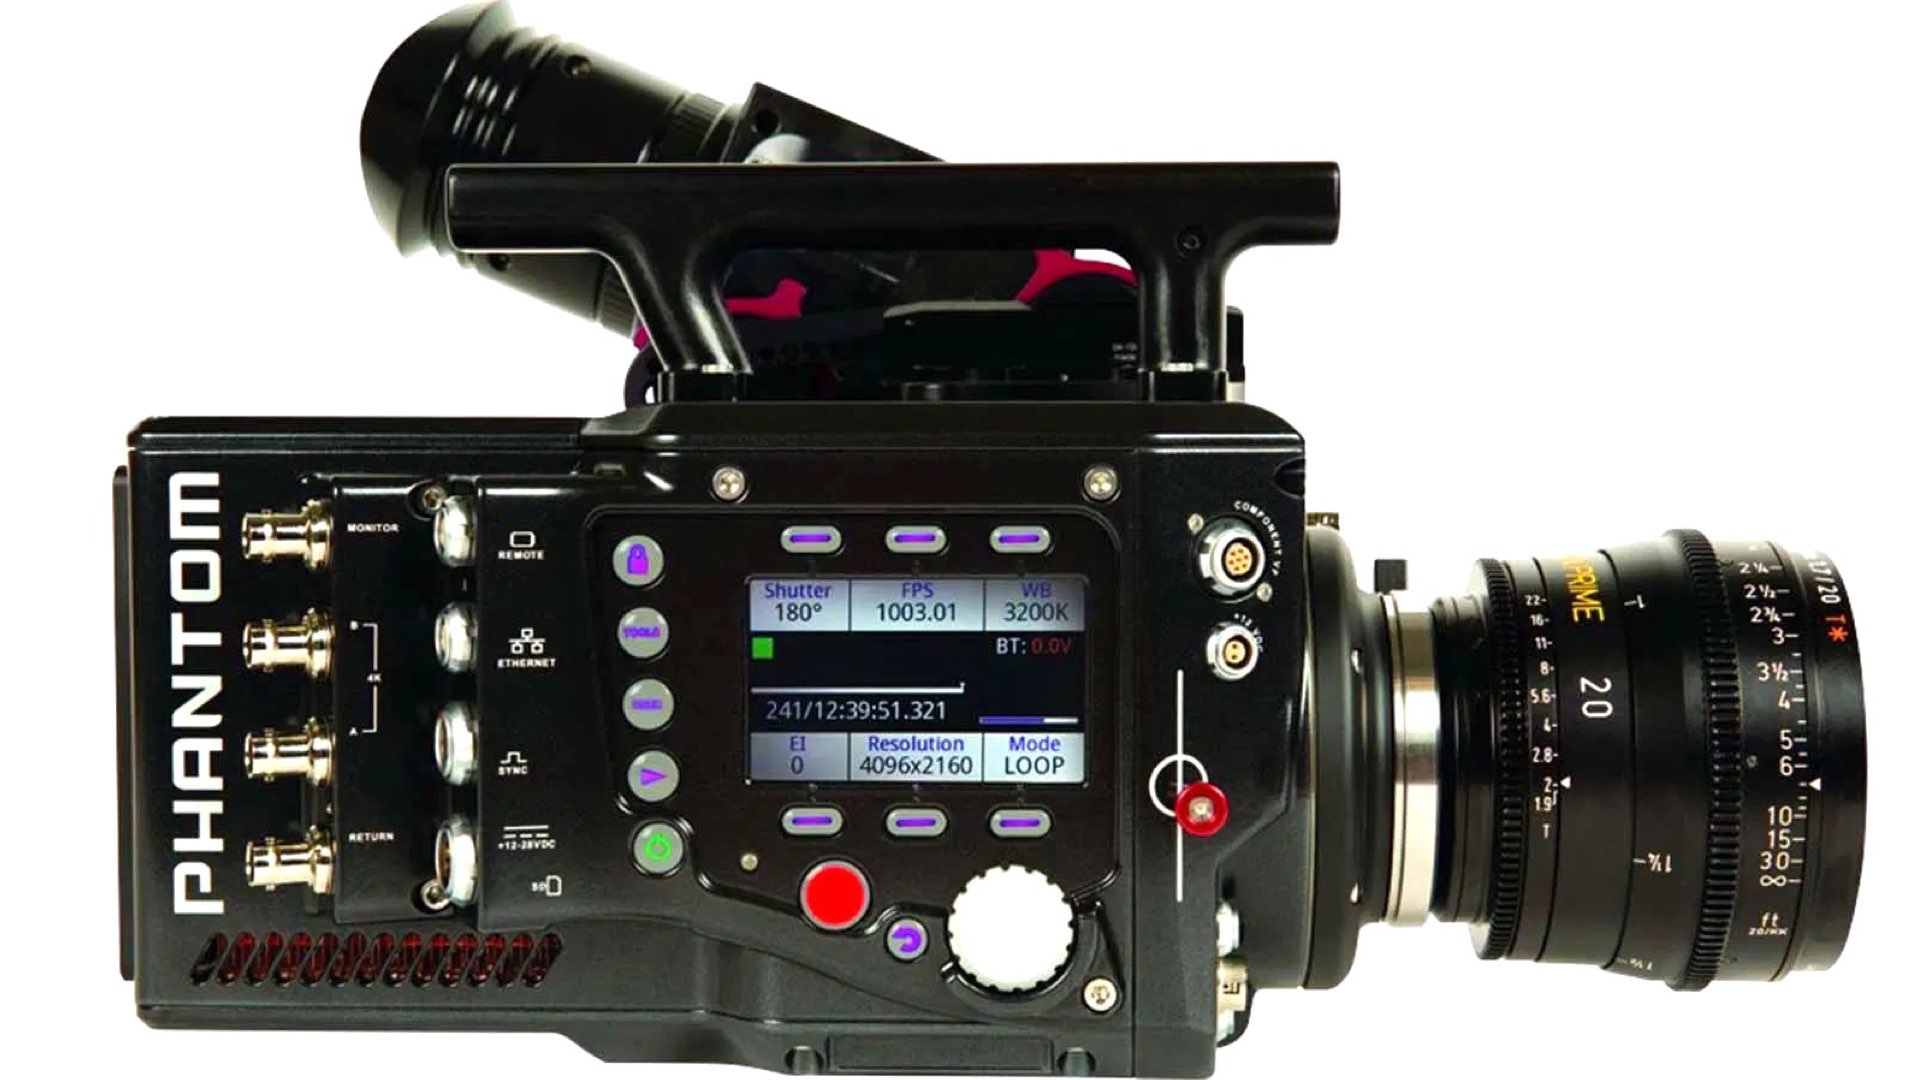
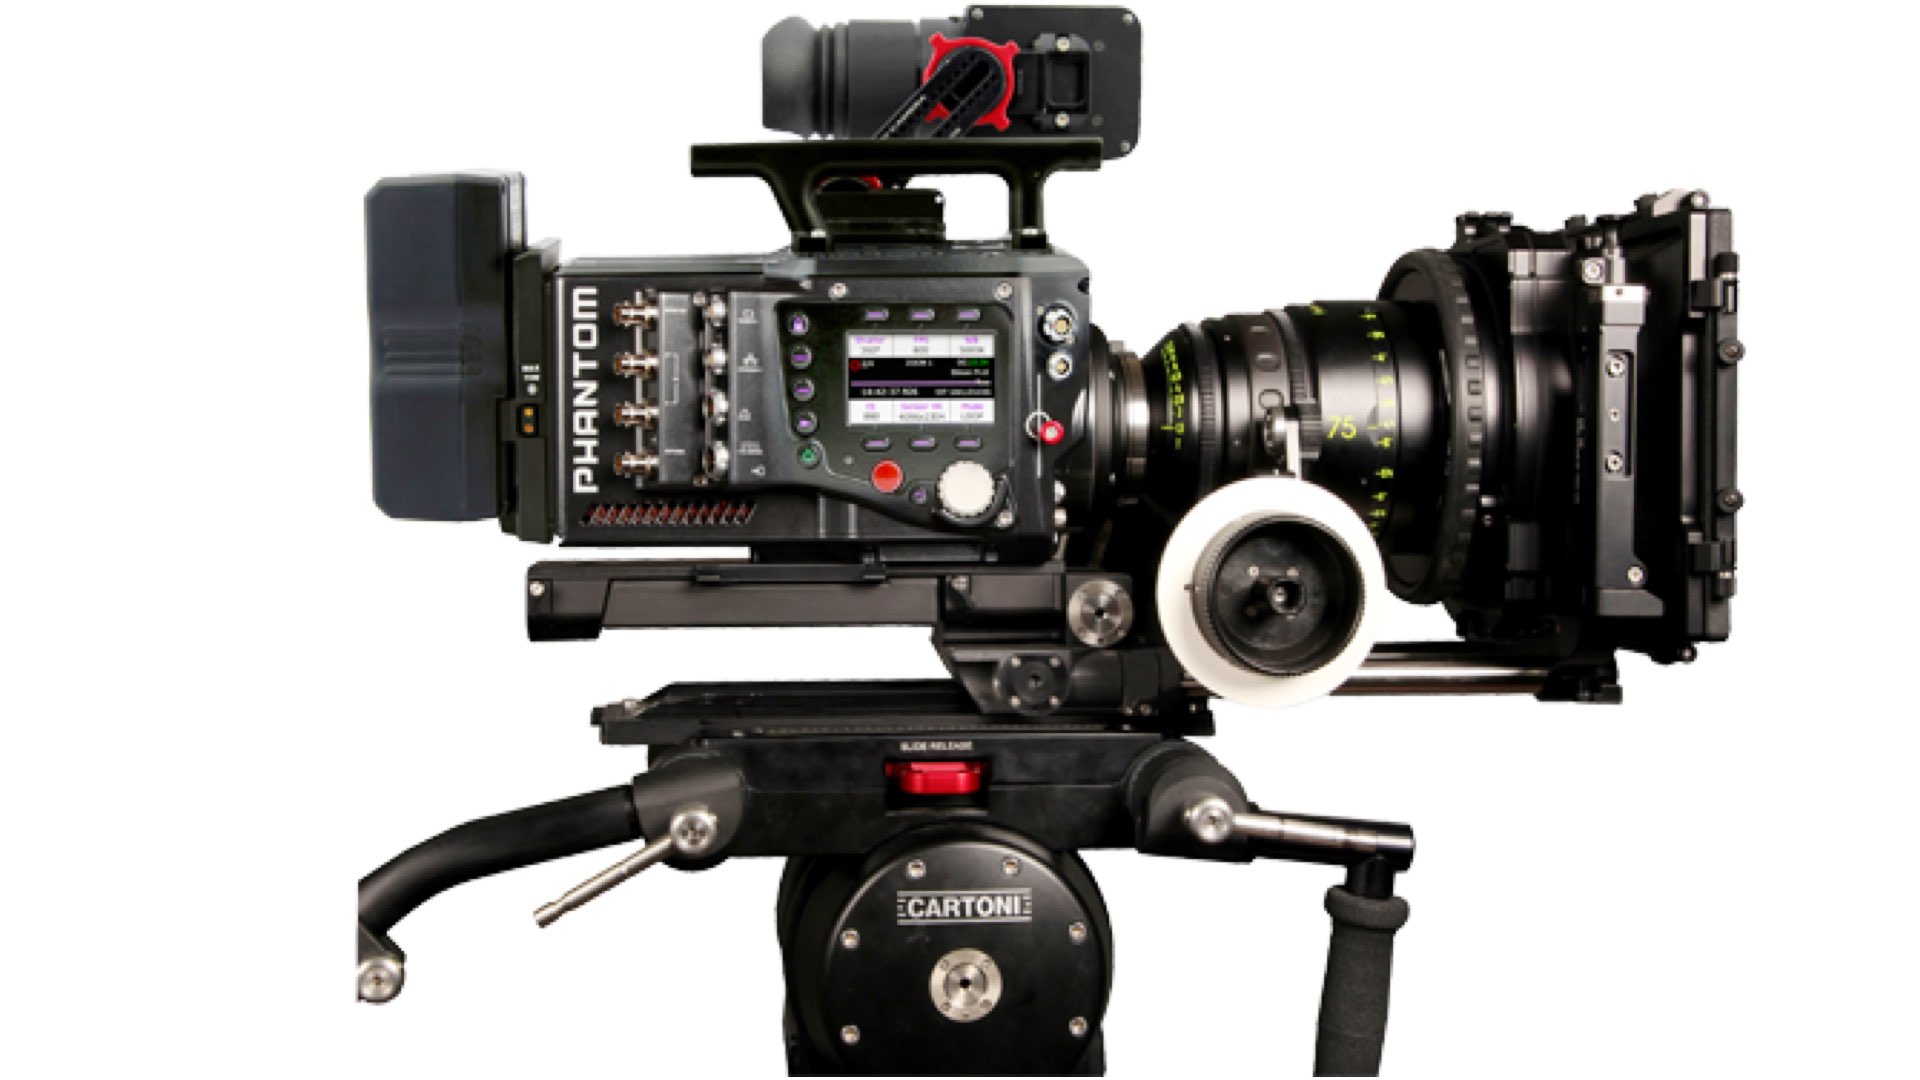
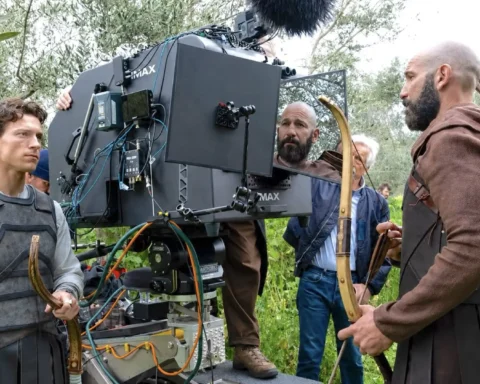
When it comes to high-speed imaging, it’s not enough to simply point your camera lens at your subject and hit record. You must pay special attention to several key factors, one of the most important is lighting. Although filming outdoors in the natural sunlight works well and is the most convenient, this scenario is not always possible. Laboratory experiments, automotive crash tests, and production environments are three examples of high-speed imaging applications that usually occur indoors. “One- and two-point lighting setups are my go-to whenever I can’t lm outside,” Matt says. “You can also use three- or four-point lighting techniques, but these tend to be more complicated and most of the time, unnecessary for what needs to be captured”. Decent reference for the importance of lighting you can be found in our article: Indie Filmmaking With the Phantom Flex4K and Cooke S4/i, which demonstrates the indie approach when shooting with the Phantom Flex4K.
LEDs as the ideal light source for slow-motion shots
According to Matt, LED lights are a go-to light source for high-speed imaging due to their small size and high output, but not all LEDs are created equal. In general, LEDs are DC-powered, eliminating the light flicker that gets picked up in high-speed playback. However, it’s important to note that lights with dimming capabilities usually introduce flicker at frame rates over 1,000 fps and at low exposure times. It is recommended to test the light at the required frame rates before committing to it, ensuring there is no flicker during playback. In a one-point lighting setup, Matt points an LED light in the same direction as his high-speed camera lens, providing direct illumination from the front and casting shadows directly behind the subject. He also frequently uses two-point lighting setups, which are a simple, yet powerful way to add dimensionality to the subject. In this setup, one LED provides direct illumination from the front, while a second LED casts light on the subject from an angle—roughly 30 degrees. “This technique comes in handy when you need to accentuate the edges of your subject,” Matt says. “It’s also useful if you’re filming moving or rotating components.”
Preventing the reflection
If an application involves shiny or metallic parts, Matt suggests watching the lighting angle to ensure the subject isn’t reflecting light back into the lens. “To prevent this from happening, you can simply move your light source in relation to the camera,” he adds. In the video below, Matt recorded a kernel of popcorn using a Phantom v2512 UltraHigh-Speed camera at 15,000 fps. This video was flat-lit, using only one LED pointed directly at the subject. Check it out:
Now see the same phenomenon in 30,000 FPS:
Shutter speed
Matt emphasizes, that the higher the frame rate, the more important lighting becomes. “Once you hit around 10,000 frames per second, you may need to use more or different lights,” Matt says. As a general rule of thumb, doubling the camera’s frame rate requires twice the amount of light to successfully image a fast-moving subject. Also, “The faster the subject, the higher your shutter speed should be,” Matt says. “But keep in mind, faster shutter speeds expose the sensor to less light, which means you’ll need more or stronger lights.

The faster the subject, the higher your shutter speed should be.
Matt Mikka
Lenses
In Matt’s experience, many users automatically reach for lenses with higher f-stops. This is because a higher f-stop, despite the limited amount of light, provides a larger depth of eld (DOF). This enables users to bring more aspects of their shot into focus. But according to Matt, focusing on everything isn’t always necessary, especially if you’re only trying to capture a small detail or component. “So, by using a lens with a small aperture, you’re just compromising on your lighting,” he says. In other words, it’s recommended to shoot wide-open, in order to insert more lights to feed that high FPS sensor.
Summary
Shooting at high speed it’s easy. Everything looks cool when delivered in slow motion. However, shooting ultra-high FPS (let’s say above 1,000), has its challenges, and vast relevant knowledge is required. There’re three basic parameters: Lights (number 1), shutter, and lens. Nevertheless, trial & error methodology is the most efficient in that case. As for the creative aspects, the sky is no limit. If everything looks cool in 100 FPS, then everything may look INSANE on 1,000 FPS and beyond. Get a few ideas from Matt’s YouTube page.
Have you got the chance to shoot with the Phantom Flex4K? What are your insights about the requirements of lighting, shutter, and lensing? Throw your thoughts in the comments section below.


higher F stop gives shallower DOF?
The opposite: Shallow depth of field is achieved by shooting with a low f/t-stop.
Here is a good resource: https://www.youtube.com/watch?v=ZGNUqNFfD8M