Denver Riddle, the founder of Color Grading Central, has put together a short tutorial that teaches you how the emulate the “Blockbuster look” that is familiar with Hollywood films, by using accessible tools and software. This method is called Look Hacking System. Read more below.
Obviously, this is not the only tutorial out there that aims to teach you how to emulate the cinematic color grading look. Yet, this is a very short tutorial that demonstrates this art of color grading in an effective and simple approach. the tutorial was created by Denver Riddle from Color Grading Central, which is very well known in its color grading inventions, plugins, and software (read our article on Cinema Grade, one of Denver’s new grading products).
Furthermore, I’d like to emphasize that I have no partnership with Color Grading Central what so ever. I am just familiar with their products by using them for more than 5 years.
The series of action requires some knowledge in reading scopes (waveforms and curves). It doesn’t matter what kind of software you use.
Basically, the hacking process is pretty simple, and base on emulating a high quality still frame grab (Blu-Ray is preferred) as a reference. If you will follow Denver’s methodology, you will surprise yourself how close you are getting to the source.
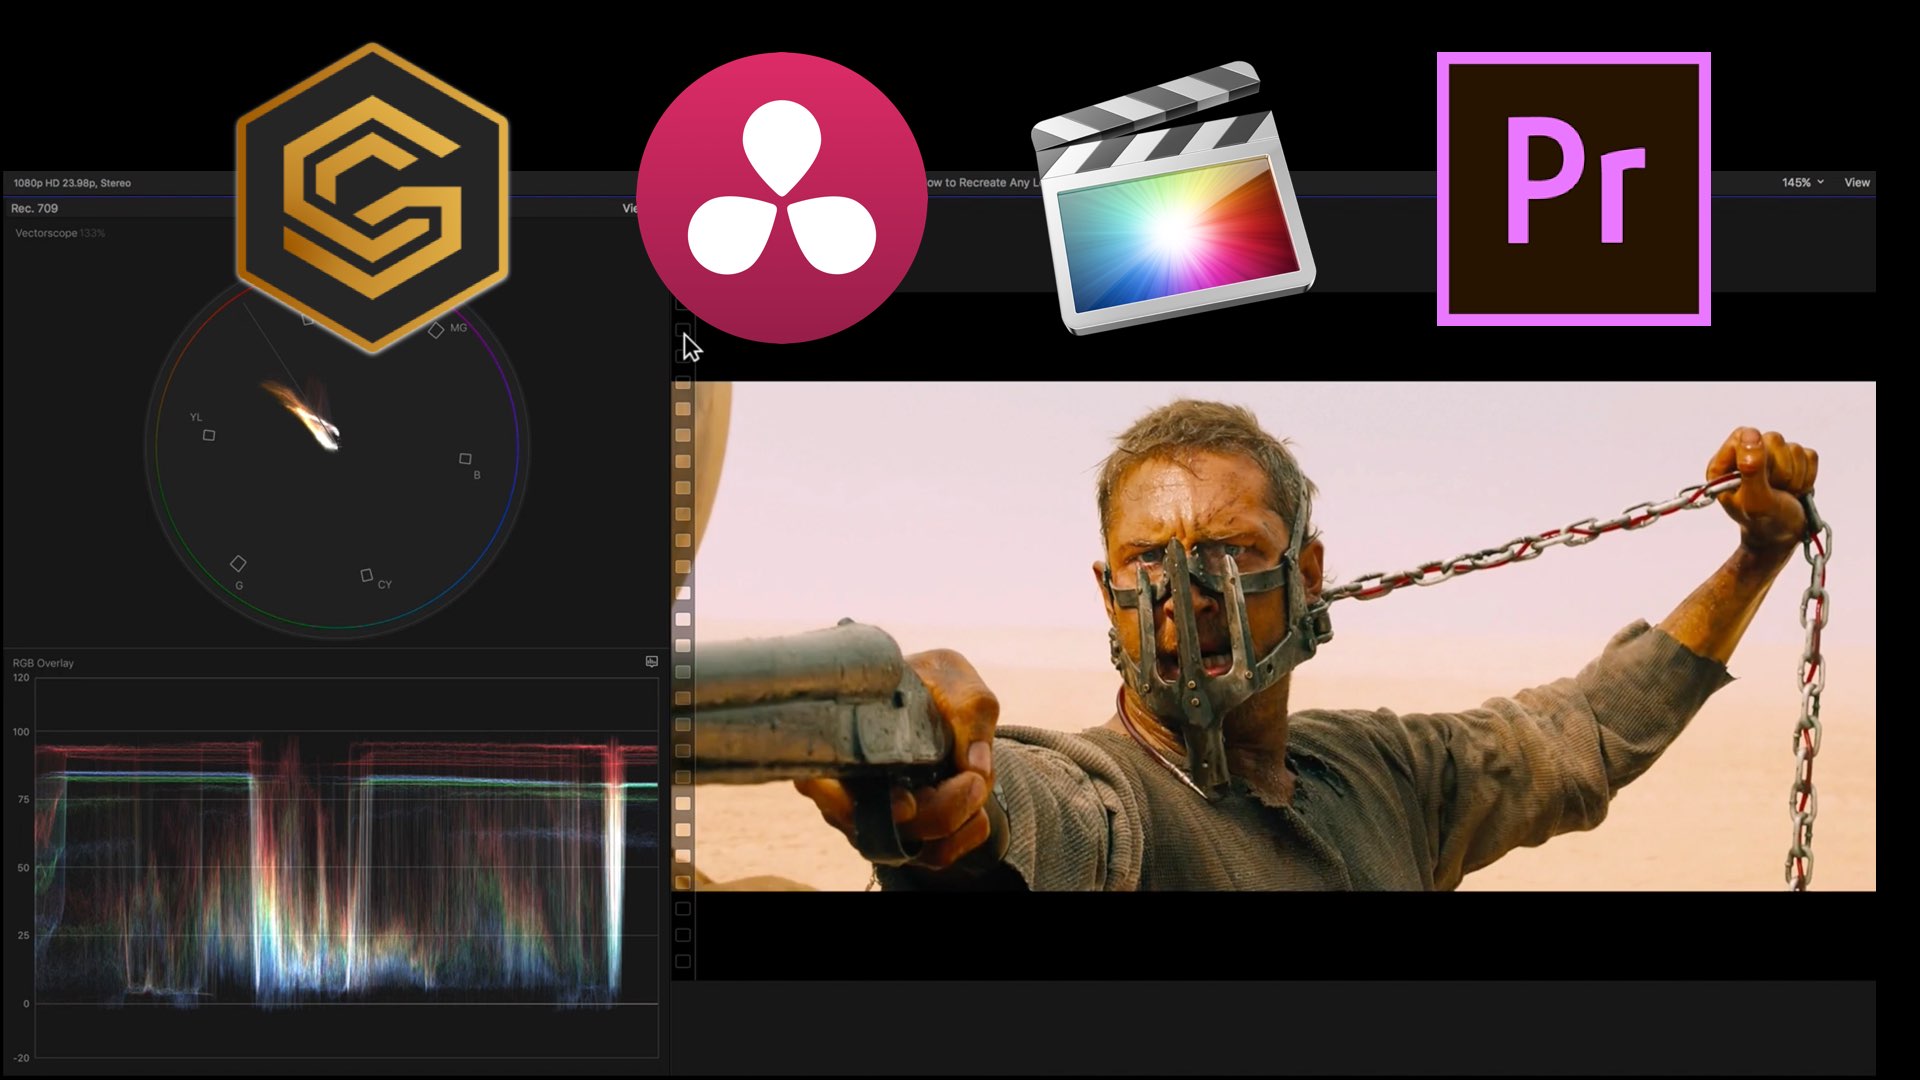
The series of action requires some knowledge in reading scopes (waveforms and curves). It doesn’t matter what kind of software you use. Any professional color grading platform would be relevant. That’s because this methodology is more logical rather than feature-dependent. It means that you can implement this concept in DaVinci Resolve, Premiere, FCPX (Final Cut Pro X) and Cinema Grade. Denver uses his product, Color Finale which is an FCPX plugin that utilizes FCPX grading by using scope rather than the un-intuitive FCPX Color Pallet.
Breaking down the look
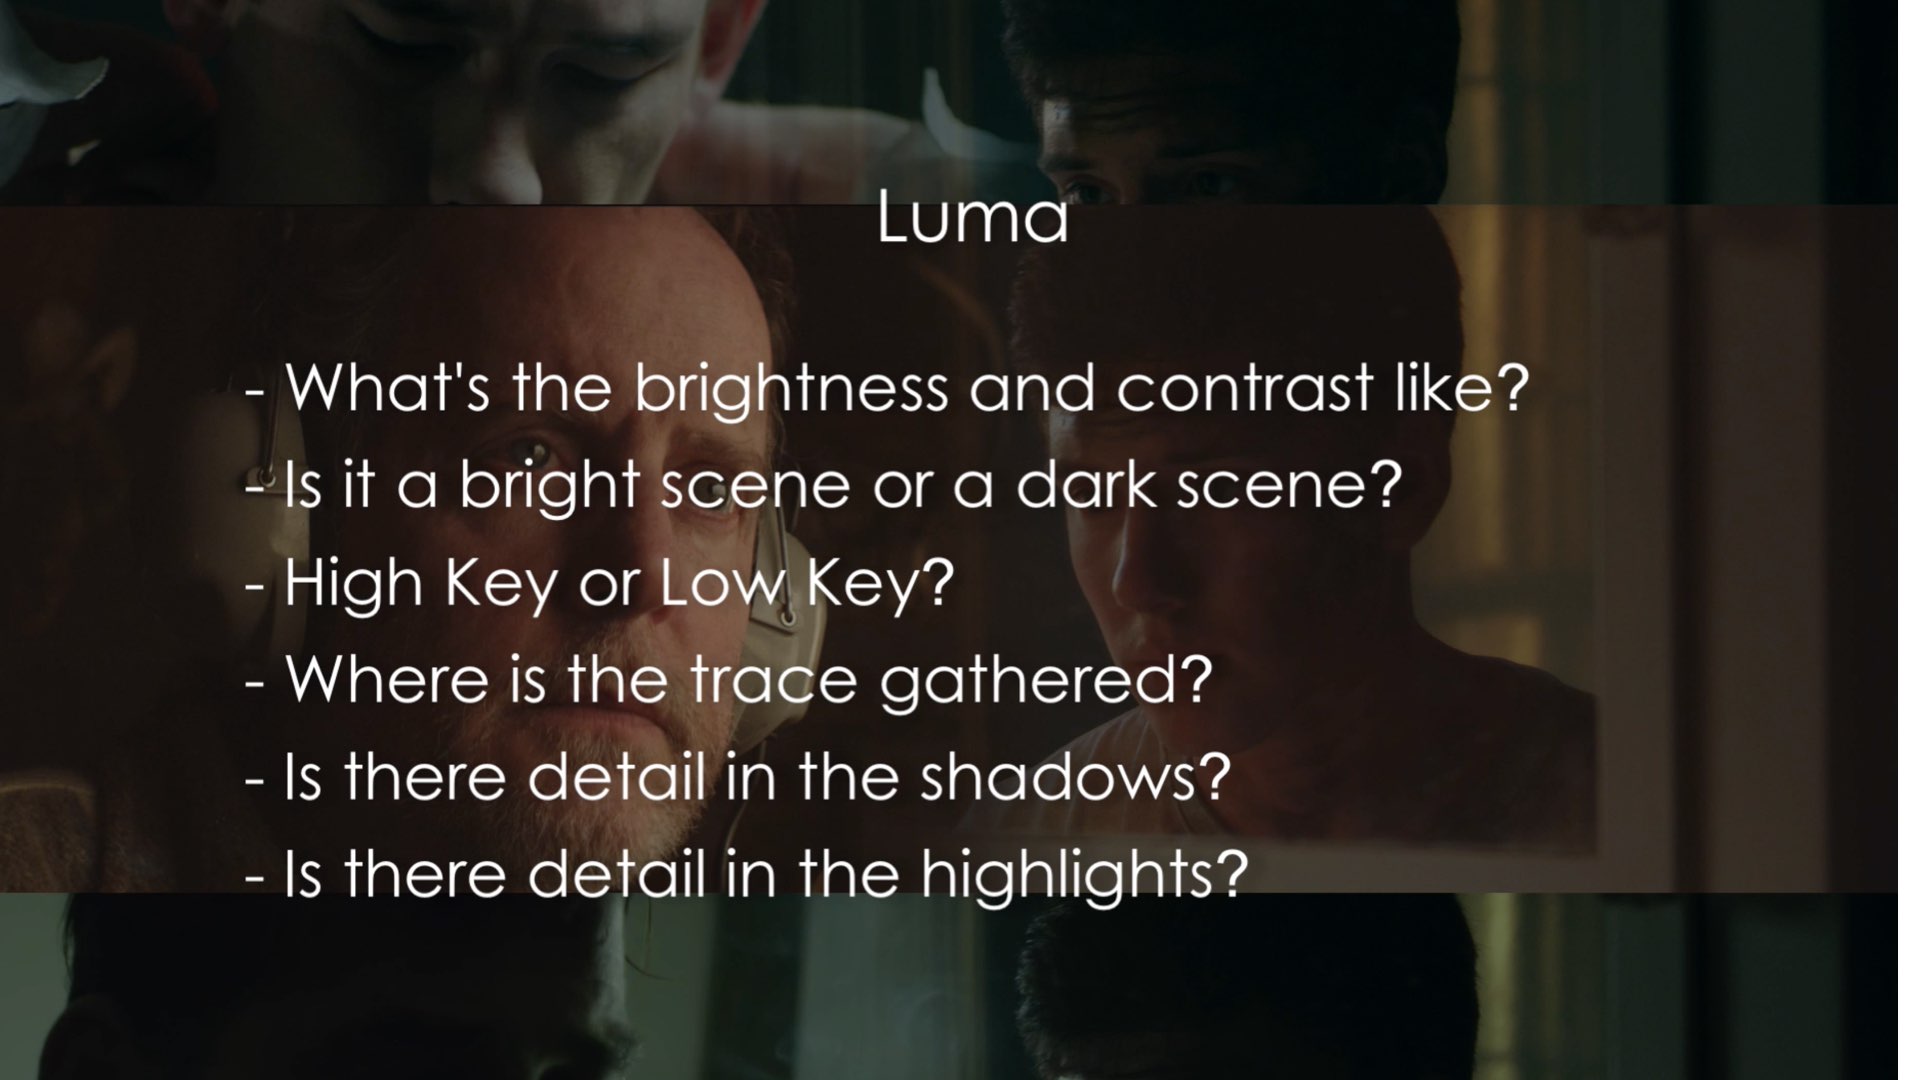
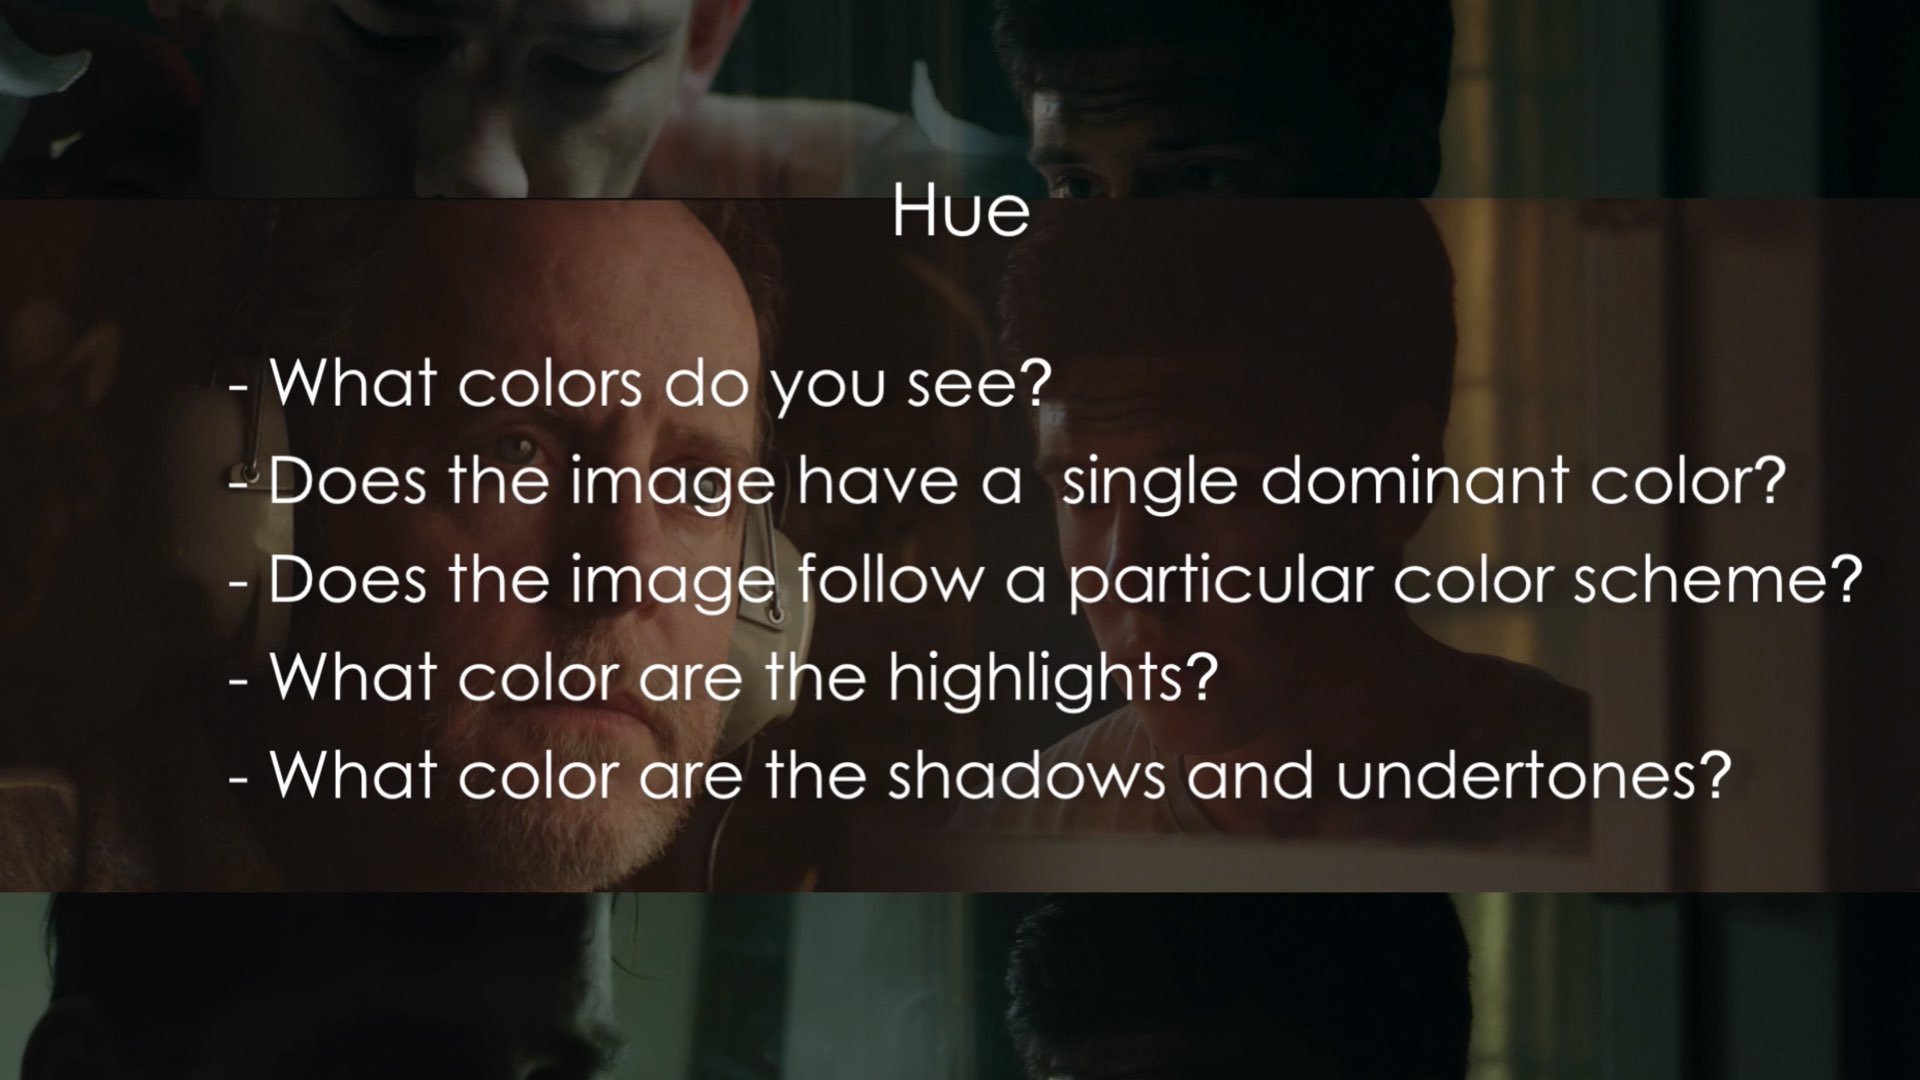
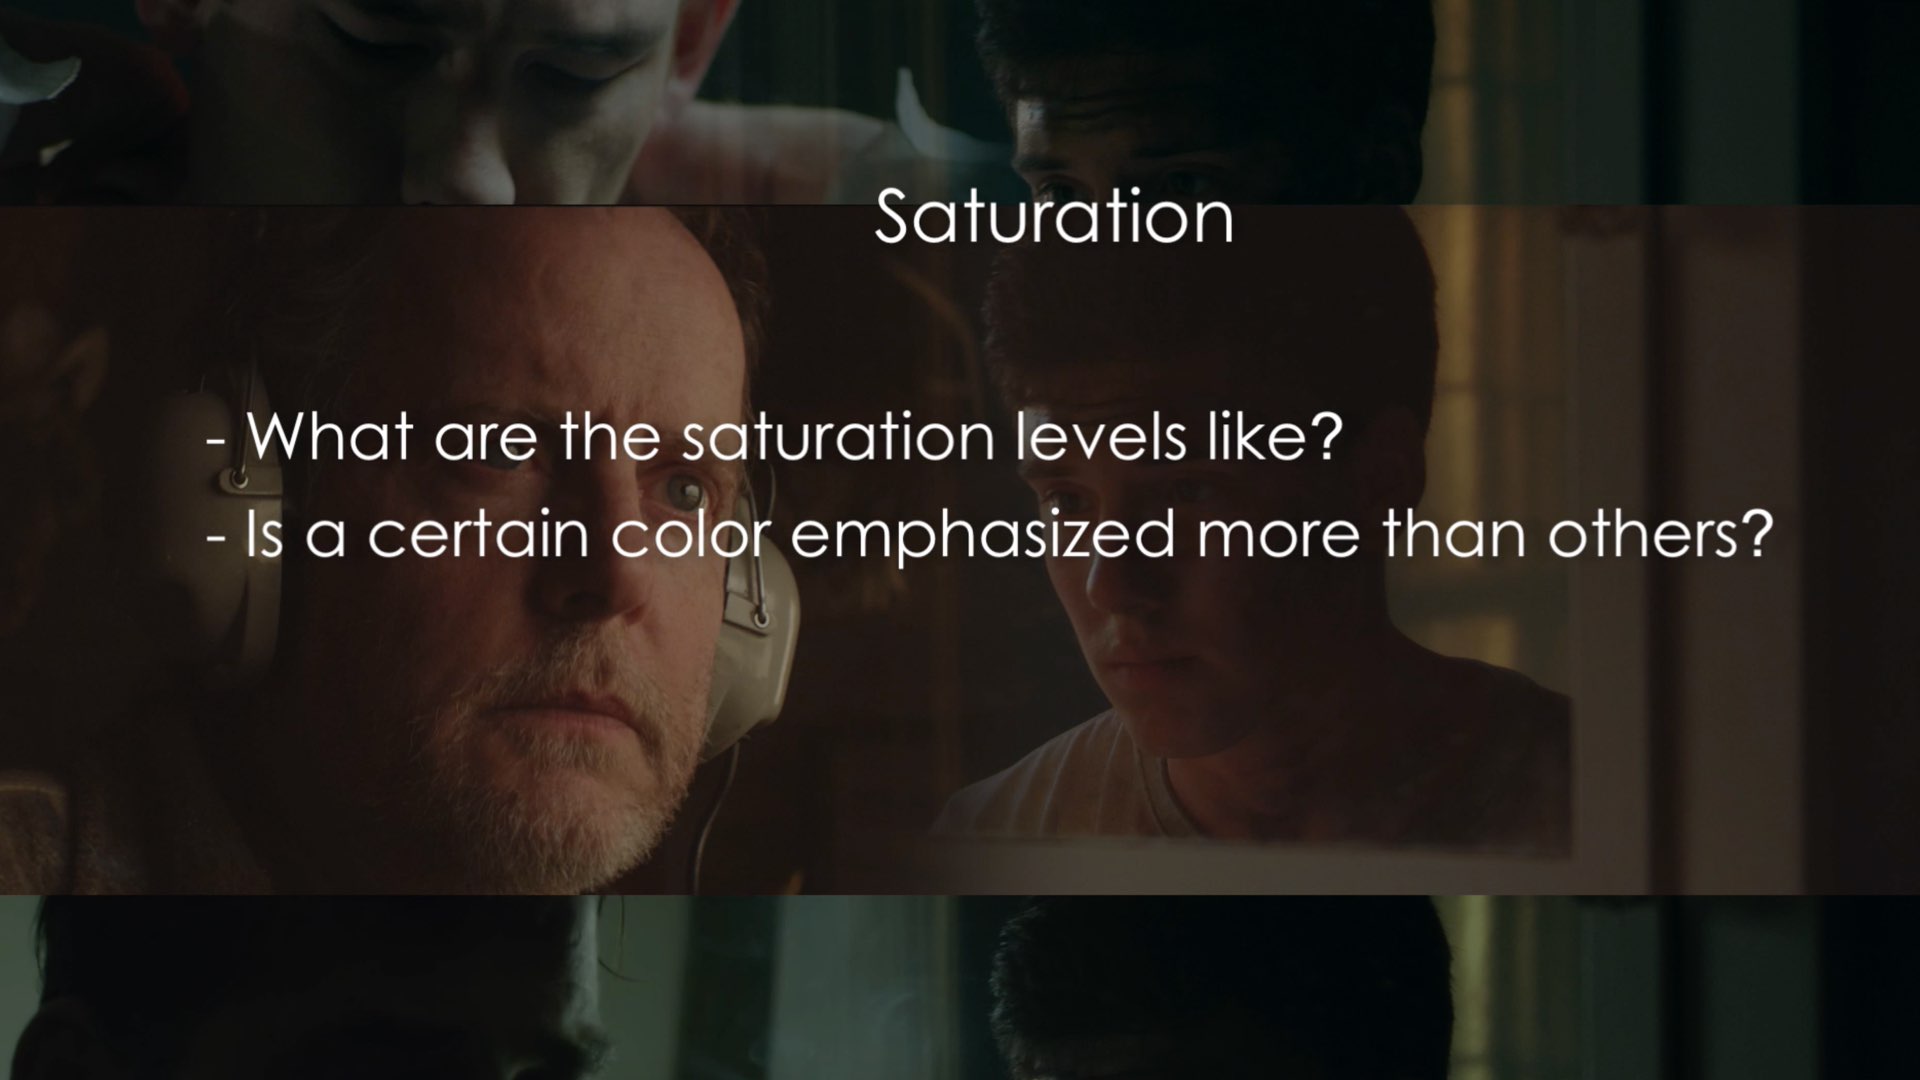
First, you have to crack the look that you are eager to emulate by comparing the look to a screen-grab and translating it into the grade language. In simple words, Denver instructs you to analyze the look by dividing it into three parameters:
Luma: bright or dark scene, contrast, how much detail in the shadows and highlights.
Hue: What are the colors? Is there a dominant color in Highlights and shadows?
Saturation: Is there a color that oversaturated than others?
Type of shot
Another important rule is that the type of shots must be similar to the shot that we’d like to mimic. For example, in order to grade a fight scene, we need a fight scene reference. It will not be appropriate to correct a fight scene when you are trying to emulate a romantic scene.
Picking the reference stills
As explained, for reference still, Blue-Ray will be preferred. Google images should be avoided since the image might be oversaturated and not so accurate in terms of colors.
Analyzing the reference shot
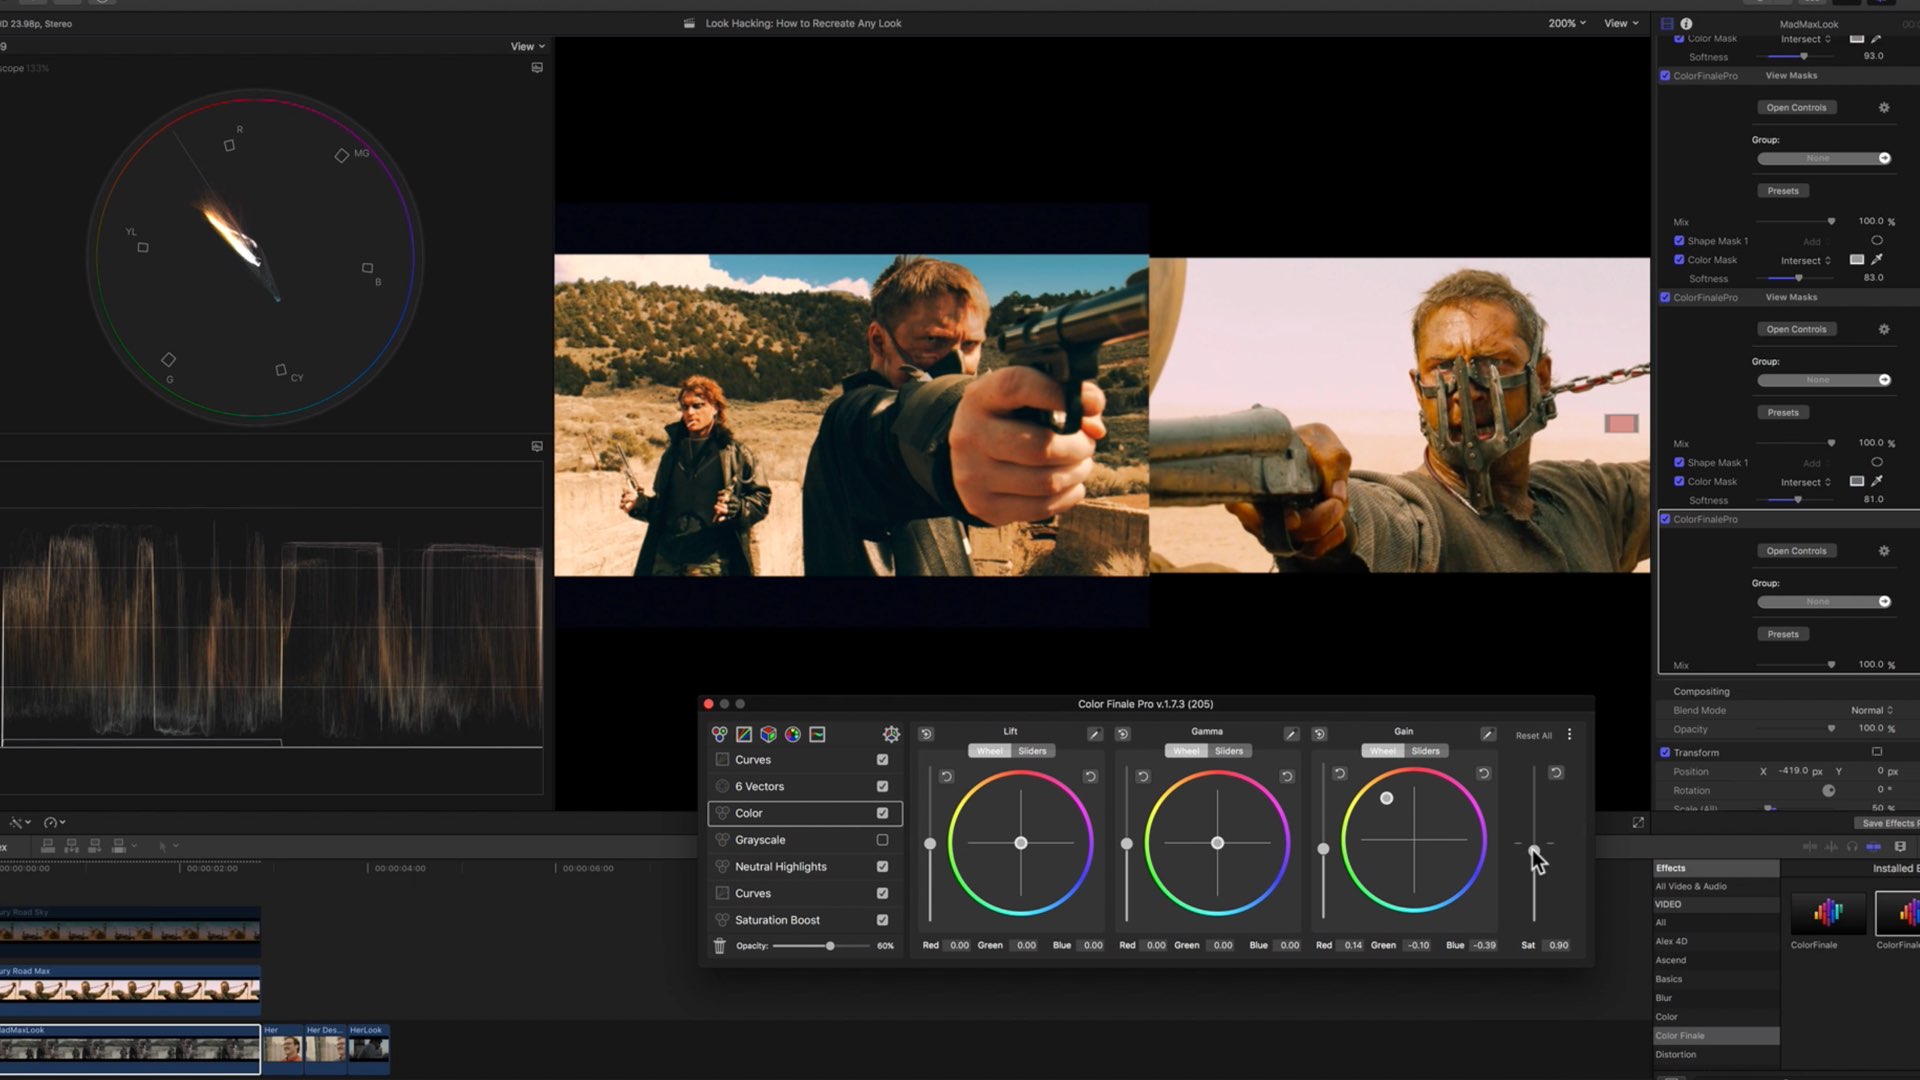
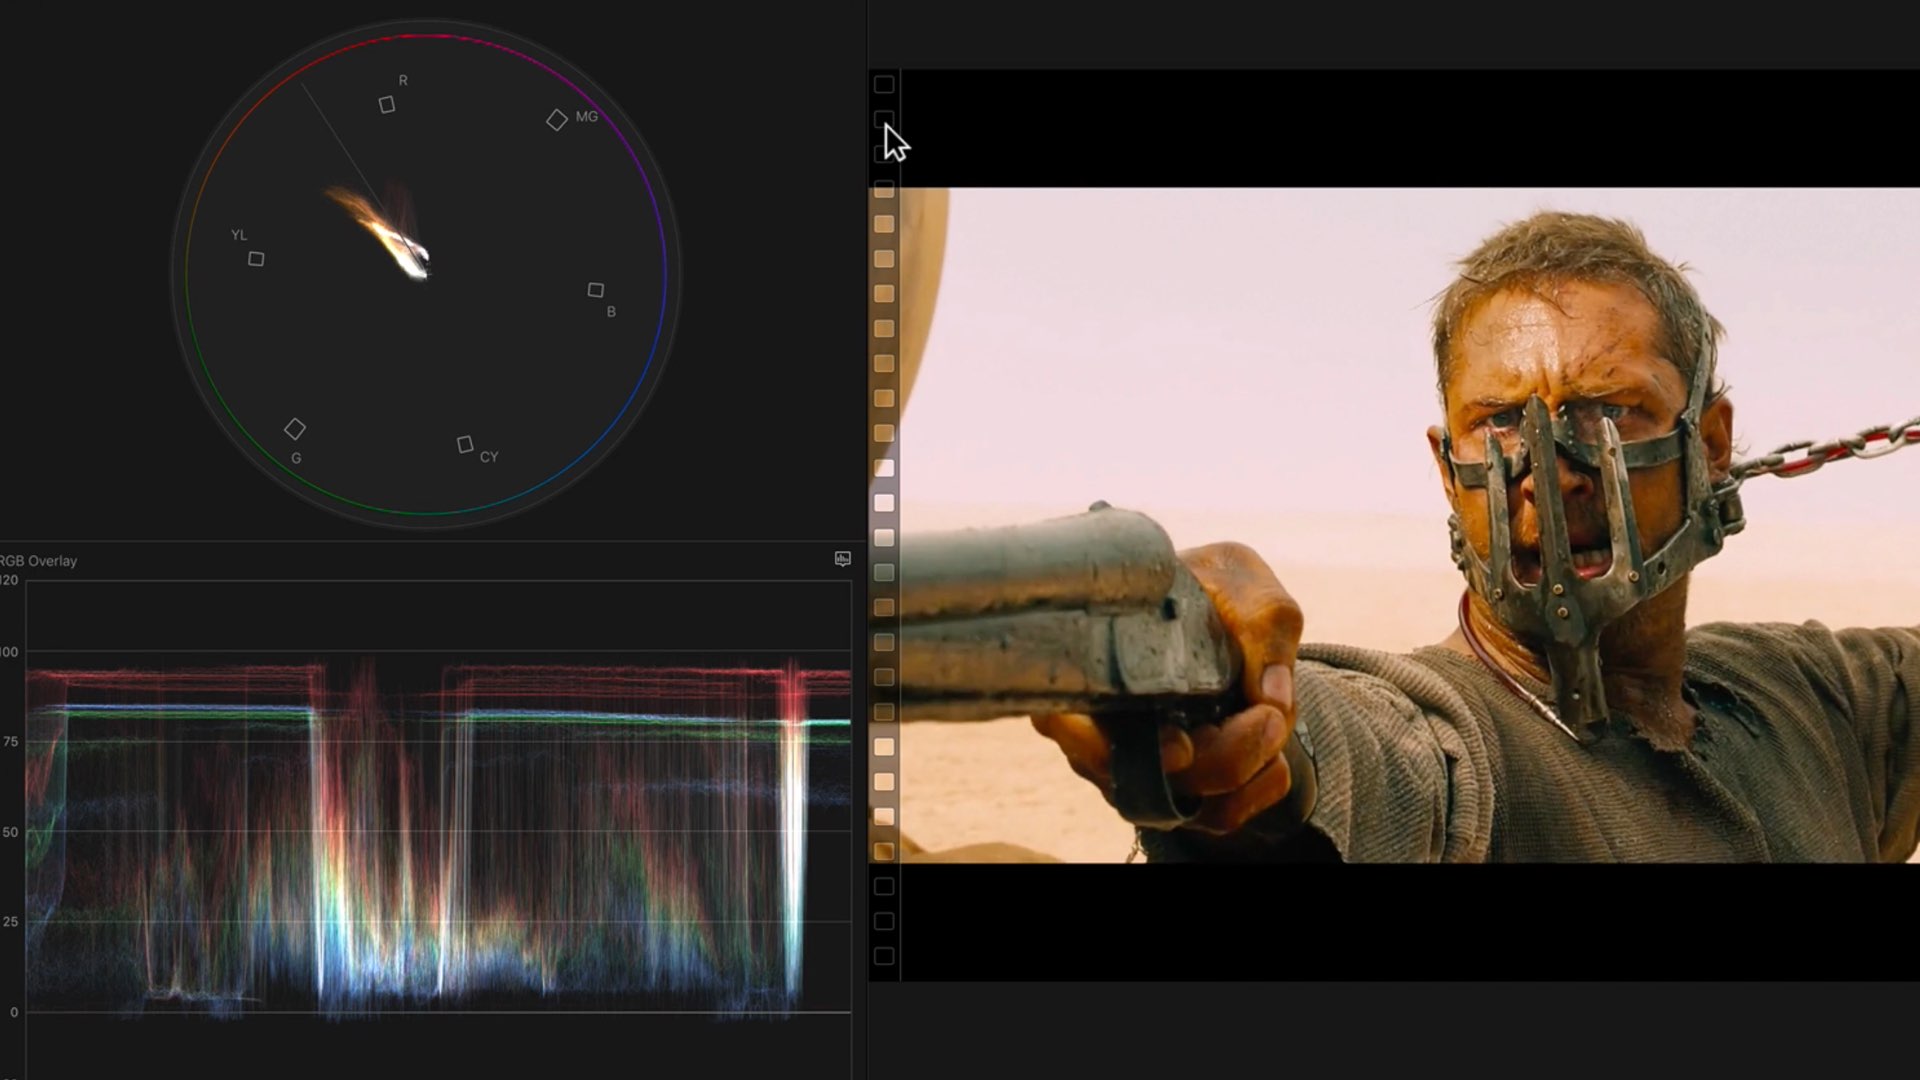
After picking your reference still, you should use the Waveform in order to get precise indications of your image. Take for example the reference shot from Mad Max. The Waveform conforms high contrast image characteristic by the expanded traces.
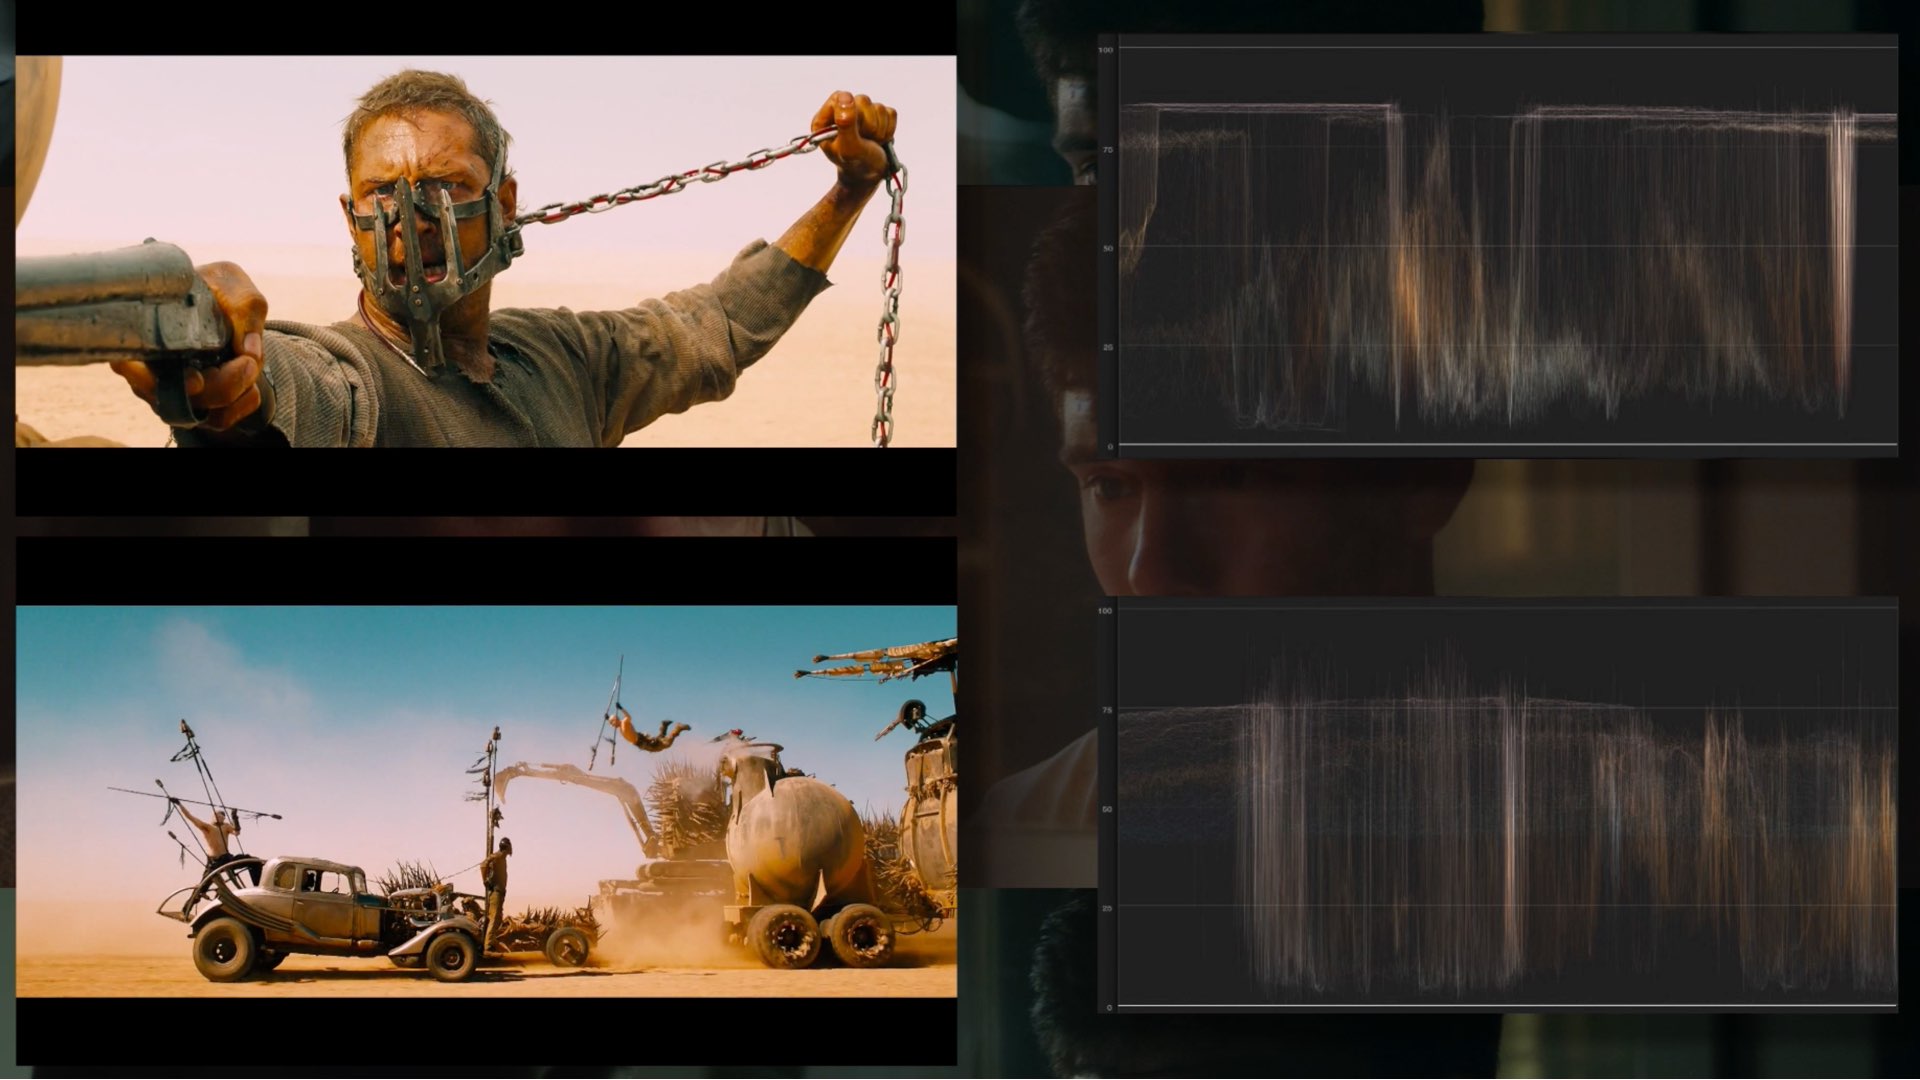
Next, use the Vector Scope to explore the trace. The Vector Scope is a powerful tool that helps you to match your shots, and thus facilitating the emulation process.
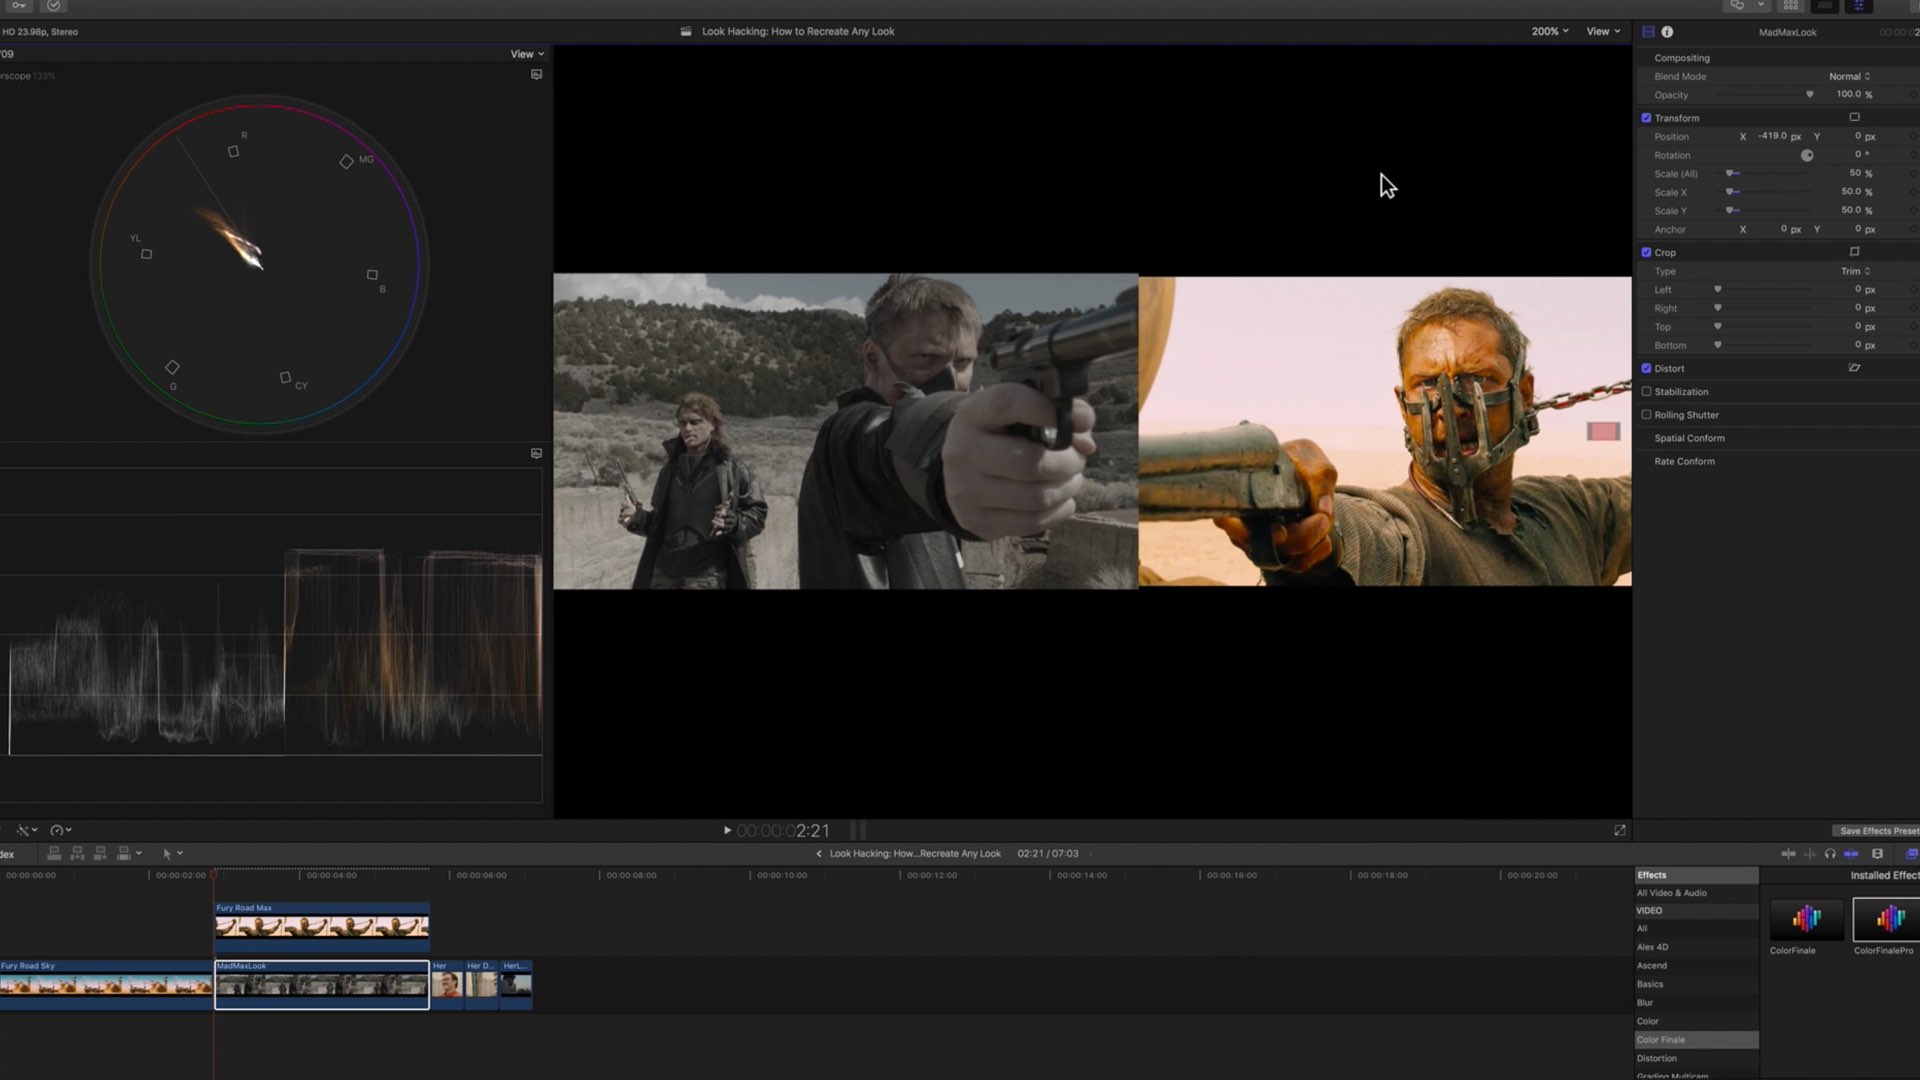
Now you need to place the shots one against another so they are conveniently located. You can achieve this by resize and then reposition the shots.
It’s impotent to note that in order to emulate look, you will need a RAW image, or at least an image with a flat picture profile, in order to allow the maximum flexibility in the emulation process.
However, the flat image comprises low saturation. That’s why you will want to elevate the saturation. You can do that by applying a dedicated layer for that when using Color Finale, or a special node when using DV Resolve.
The process consists of analyzing and making equal as possible those color grading parameters regarding Hue, Luma, and Saturation
Now use your curve to make the shadows and highlights equal between the reference still and your image in order to match the contrast.
Generally speaking, the process consists of analyzing and making equal as possible those color grading parameters regarding Hue, Luma, and Saturation. The process is similar in term of methodology but different for every shot. It also depends what kind of software or plugin you are using.
For further instructions, sign-up at cinemagrade.com to start your free tutorial.
Just remember the basic rules: Translate the look into the grading language by dividing it into three aspects: Luma, Hue, and Saturation. That will help you to understand the look and facilitate the emulation process.
Although this process is not so complicated, be aware that it needs a lot of training in order to achieve good and professional results.
Have you watched the tutorial? Let us know if it improved your hacking capabilities.